
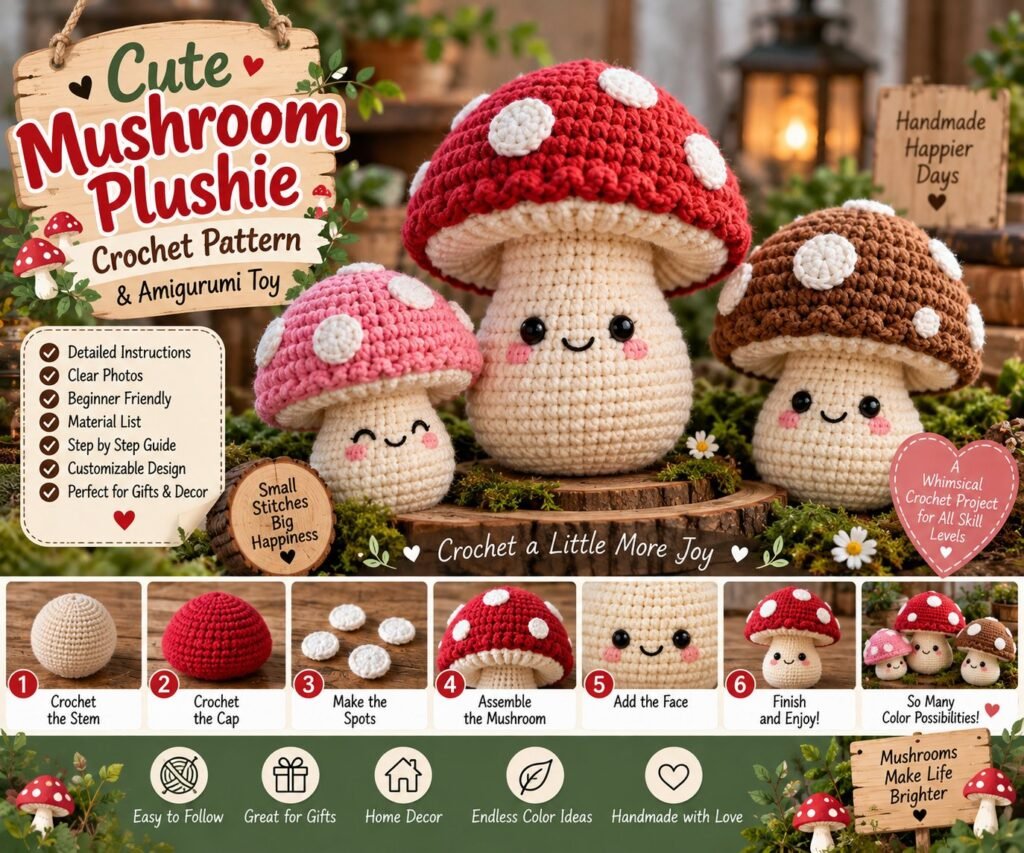
Create your own adorable mushroom plushie with this easy-to-follow crochet amigurumi pattern. This cute mushroom toy features a rounded cream-colored stem, a colorful mushroom cap, a soft stuffed shape, and simple details that make it perfect for handmade gifts, nursery decorations, woodland-themed collections, and crochet displays.
This original, adaptable pattern is inspired by the mushroom plushie design shown in the reference. The finished size can vary depending on your yarn, crochet hook, tension, and amount of stuffing.
The pattern uses standard US crochet terminology and is worked primarily with single crochet, increases, and decreases. These are common techniques for shaping amigurumi because increases add stitches to expand a piece while decreases reduce stitches to create rounded or tapered shapes.
Cute Mushroom Plushie Crochet Pattern
Skill Level: Beginner to Intermediate
Finished Size: Approximately 5–7 inches tall
Crochet Terms: US terminology
Construction: Crochet the mushroom cap and stem separately, stuff them, then sew them together.
Gauge: Gauge is not critical for this project. Use a smaller hook than you would normally use for the same yarn if necessary to create firm stitches and prevent stuffing from showing through. Smaller hooks are commonly used for amigurumi to produce a tighter fabric.
Materials Needed
Medium weight #4 yarn
Red, burgundy, orange, pink, or another color for the mushroom cap
Cream, ivory, or beige yarn for the mushroom stem
Small amount of white yarn for optional spots
Small amount of black yarn for optional facial details
3.0 mm crochet hook
Polyester fiberfill stuffing
Yarn needle
Embroidery needle
Scissors
Stitch marker
Optional safety eyes
Optional pink embroidery thread for cheeks
Crochet Abbreviations
ch = chain
sc = single crochet
sl st = slip stitch
inc = increase
dec = decrease
st = stitch
sts = stitches
BLO = back loop only
FLO = front loop only
FO = fasten off
rnd = round
rep = repeat
These are standard crochet abbreviations commonly used in written patterns. For example, sc means single crochet, inc means increase, and dec means decrease.
Pattern Notes
Work the mushroom pieces in continuous rounds unless otherwise stated.
Use a stitch marker to identify the first stitch of each round.
Stuff the pieces gradually as you crochet.
Do not overstuff the mushroom because excessive stuffing can distort the stitches and change the shape.
For a child-safe toy, embroidered facial features are preferable to detachable plastic pieces.
The mushroom cap can be made in several colors to create a collection of woodland-inspired plushies.
Step 1: Crochet the Mushroom Stem
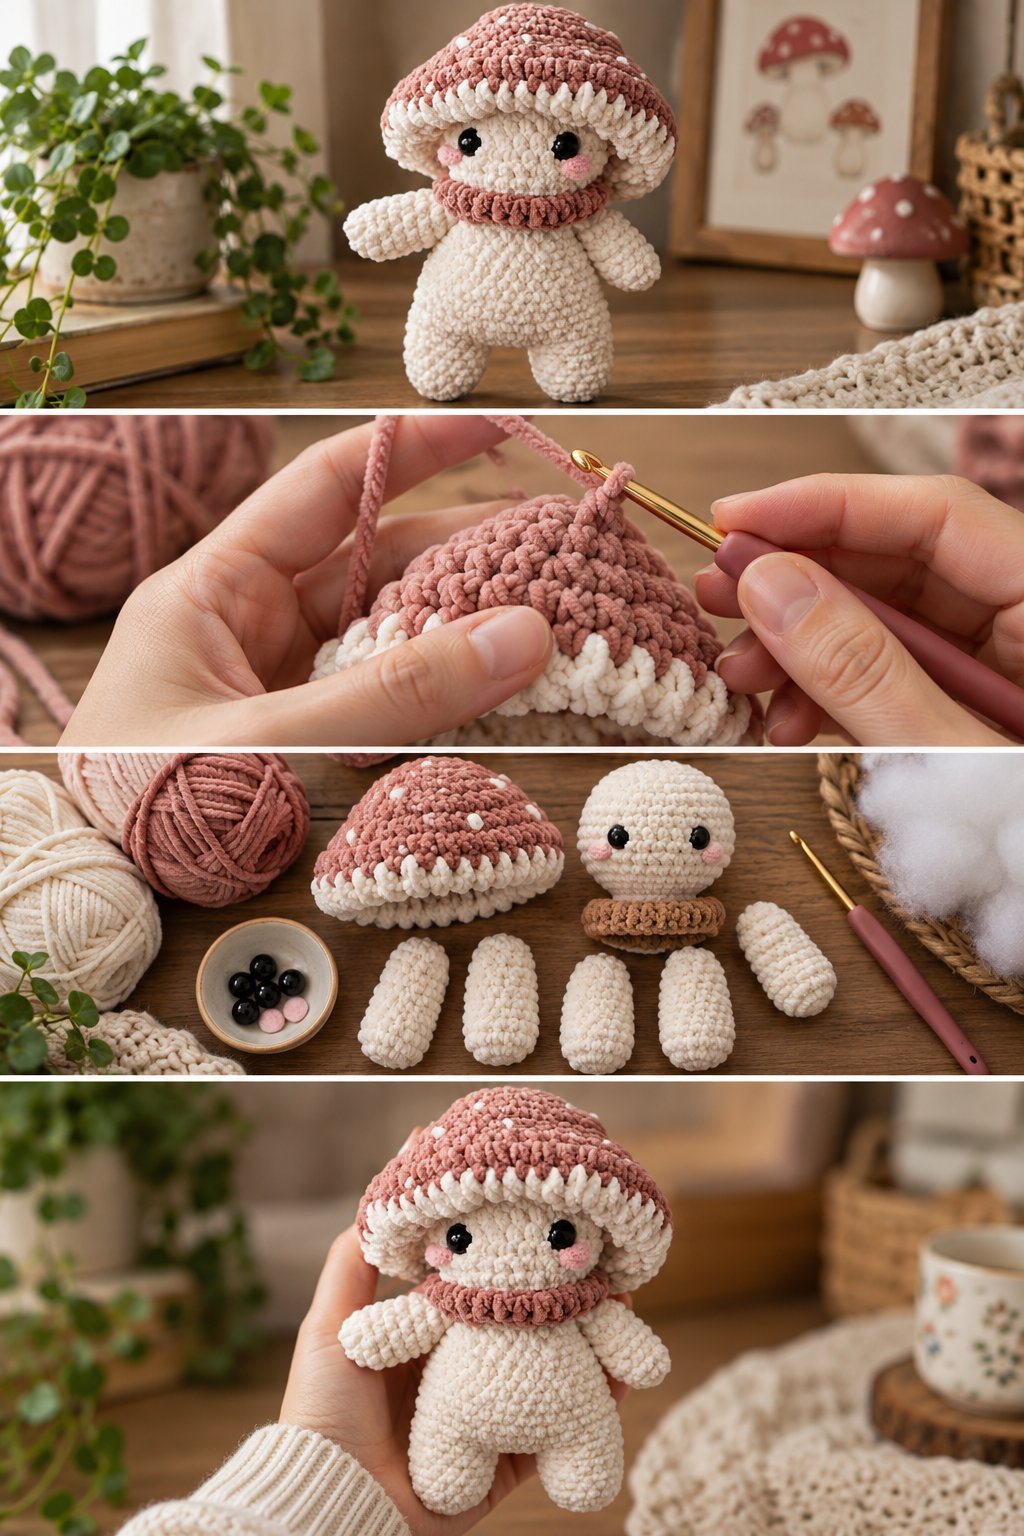
Use cream or ivory yarn.
Start with a magic ring.
Rnd 1: 6 sc into the magic ring. (6)
Rnd 2: inc around. (12)
Rnd 3: sc in next st, inc in next st around. (18)
Rnd 4: sc in next 2 sts, inc in next st around. (24)
Rnd 5: sc in next 3 sts, inc in next st around. (30)
Rnd 6–10: sc around. (30)
This creates the wider lower portion of the mushroom stem.
Step 2: Shape the Upper Stem
Continue with cream yarn.
Rnd 11: sc in next 3 sts, dec in next 2 sts around. (24)
Rnd 12: sc around. (24)
Rnd 13: sc in next 2 sts, dec around. (18)
Rnd 14–16: sc around. (18)
Rnd 17: sc in next st, dec around. (12)
Rnd 18–19: sc around. (12)
Begin stuffing the stem.
Rnd 20: dec around. (6)
Add a little more stuffing if necessary.
FO and leave a long yarn tail.
Pull the opening closed and weave the yarn tail through the stitches.
Step 3: Shape the Mushroom Stem
Use your fingers to gently shape the stem.
The bottom should remain slightly wider than the top.
Add extra stuffing around the lower half if you want a firm plushie.
Avoid creating lumps by adding small amounts of stuffing at a time.
A smooth, evenly stuffed shape will give the mushroom a professional amigurumi appearance.
Step 4: Crochet the Mushroom Cap
Use your chosen mushroom cap color.
Red creates a classic mushroom appearance, while pink, orange, purple, burgundy, or pastel colors can create different styles.
Rnd 1: 6 sc into a magic ring. (6)
Rnd 2: inc around. (12)
Rnd 3: sc in next st, inc in next st around. (18)
Rnd 4: sc in next 2 sts, inc in next st around. (24)
Rnd 5: sc in next 3 sts, inc in next st around. (30)
Rnd 6: sc in next 4 sts, inc in next st around. (36)
Rnd 7: sc in next 5 sts, inc in next st around. (42)
Rnd 8: sc in next 6 sts, inc in next st around. (48)
Rnd 9–12: sc around. (48)
The cap should now have a rounded dome shape.
Step 5: Create the Mushroom Cap Curve
To begin bringing the bottom of the cap inward:
Rnd 13: sc in next 6 sts, dec around. (42)
Rnd 14: sc in next 5 sts, dec around. (36)
Rnd 15: sc in next 4 sts, dec around. (30)
Rnd 16: sc in next 3 sts, dec around. (24)
Rnd 17: sc in next 2 sts, dec around. (18)
FO.
Leave a long sewing tail.
Do not completely close the opening because the cap will be attached to the mushroom stem.
Step 6: Add Stuffing to the Mushroom Cap
Add a small amount of fiberfill to the cap.
The cap should be lightly stuffed rather than tightly packed.
Use your fingers to push the stuffing toward the top of the cap.
The goal is to create a soft, rounded dome with a slight overhang around the stem.
If the cap becomes too firm, remove some stuffing before continuing.
Step 7: Crochet the Optional White Spots
For a classic toadstool appearance, add small white crochet spots.
Make a magic ring.
Rnd 1: 6 sc into the ring. (6)
Rnd 2: inc around. (12)
Rnd 3: sc around. (12)
FO and leave a sewing tail.
Make several spots in different sizes.
For smaller spots, stop after Round 1 or Round 2.
For larger spots, continue increasing for another round.
Sew the spots randomly across the mushroom cap.
You can also embroider small dots directly onto the cap using white yarn.
Step 8: Attach the Cap to the Stem
Place the mushroom cap over the top of the stem.
Center the stem underneath the cap.
Use the long yarn tail from the cap to sew the two pieces together.
Insert the yarn needle through the edge of the cap and then through the corresponding stitch on the stem.
Continue sewing around the entire opening.
Pull the stitches firmly but not so tightly that the cap loses its rounded shape.
Once the cap is secure, weave the remaining yarn inside the mushroom.
Step 9: Add a Cute Face
For a character-style mushroom plushie, add a simple face.
Place two safety eyes evenly across the front.
If using embroidered eyes, create two small oval shapes with black yarn.
Embroider a tiny curved smile underneath the eyes.
Add two small pink cheek patches using embroidery thread.
For a sleepy mushroom, embroider the eyes as two curved lines.
For a happy mushroom, make the eyes slightly larger and add a small smiling mouth.
Step 10: Add Decorative Details
You can personalize the mushroom with small crochet or embroidered decorations.
Try adding:
Tiny white mushroom spots
Small flowers
Leaves
A miniature heart
Embroidered stars
A tiny bow
A contrasting border around the cap
A small embroidered face
For a woodland theme, use earthy colors such as cream, sage green, rust, brown, and muted red.
Step 11: Make the Mushroom More Plush
If you want an especially soft mushroom plushie, use plush yarn instead of standard acrylic yarn.
When using plush yarn, work slowly and use your fingers to locate each stitch.
Because plush yarn can make stitches harder to see, a stitch marker is particularly helpful.
Keep your tension consistent throughout the project.
Step 12: Finishing the Mushroom
Check the entire plushie for loose stitches.
Make sure the cap is securely attached to the stem.
Secure all embroidery ends inside the plushie.
Trim excess yarn.
Gently shape the mushroom with your hands.
Adjust the stuffing until the cap and stem have an even, rounded appearance.
Your cute mushroom amigurumi is now complete.
Cute Mushroom Color Ideas
Classic Toadstool
Red cap
White spots
Cream stem
Pink cheeks
Strawberry Mushroom
Pink cap
White spots
Cream stem
Dark pink details
Autumn Mushroom
Burnt orange cap
Cream spots
Beige stem
Brown embroidery
Woodland Mushroom
Sage green cap
Cream spots
Ivory stem
Brown details
Pastel Mushroom
Lavender cap
White spots
Cream stem
Pink cheeks
Tips for Making Amigurumi
Keep your stitches tight enough that the stuffing cannot easily be seen.
Use a stitch marker at the beginning of every round.
Stuff gradually instead of adding a large amount of fiberfill at once.
Use invisible or nearly invisible decreases when possible for a smoother finish.
When shaping the mushroom cap, check the shape regularly before adding more stuffing.
Single crochet is particularly useful for amigurumi because it creates a dense fabric suitable for stuffed toys.
For decreases, sc2tog combines two stitches into one and helps create the rounded or tapered shape of amigurumi pieces.
How to Make a Larger Mushroom Plushie
To make a larger mushroom, use bulky or super bulky yarn with a suitable crochet hook.
You can also add additional increase rounds to the cap before working the straight rounds.
For example, after reaching 48 stitches, continue increasing until you reach approximately 60 or 72 stitches.
Then work several rounds without increases before beginning the decreases.
This creates a larger mushroom cap while maintaining the rounded shape.
How to Make a Mini Mushroom
For a miniature mushroom, use DK or sport-weight yarn and a smaller hook.
Stop increasing earlier and use fewer straight rounds.
A mini mushroom can be used as:
A keychain
A bag charm
A Christmas ornament
A desk decoration
A plant accessory
A tiny woodland toy
Frequently Asked Questions
Is this mushroom crochet pattern beginner-friendly?
Yes. The project mainly uses single crochet, increases, decreases, stuffing, and basic sewing. Beginners who are comfortable crocheting in the round should be able to follow the pattern.
What yarn is best for a crochet mushroom plushie?
Medium-weight acrylic or cotton yarn works well. Plush yarn can also be used if you want an especially soft finished toy.
What size crochet hook should I use?
A 3.0 mm hook works well with medium-weight yarn for a firm amigurumi fabric. Adjust the hook size according to your yarn and tension.
How much stuffing should I use?
Use enough stuffing to give the mushroom a firm but soft shape. The cap should generally be stuffed more lightly than the stem.
Can I change the mushroom color?
Yes. Changing the cap color is one of the easiest ways to personalize the pattern.
Can I make this mushroom without safety eyes?
Yes. Embroidered eyes are an excellent alternative, especially for toys intended for young children.
Can I sell mushrooms made from this pattern?
If you are using this original pattern as a basis for your handmade products, you can generally sell your finished physical creations, but the written pattern itself should not be copied or redistributed as your own. Always check the specific terms of any pattern or design you use.
SEO Information
SEO Title:
Cute Mushroom Plushie Crochet Pattern & Amigurumi Toy
Meta Description:
Learn how to crochet a cute mushroom plushie with this easy amigurumi pattern. Includes materials, crochet instructions, step-by-step shaping, stuffing, spots, and finishing tips.
Focus Keyword:
Mushroom Plushie Crochet Pattern
Secondary Keywords:
crochet mushroom plushie
mushroom amigurumi pattern
cute mushroom crochet pattern
amigurumi mushroom toy
crochet mushroom toy
free mushroom crochet pattern
woodland amigurumi
crochet plushie pattern
easy amigurumi crochet pattern
cute crochet plushie
Suggested URL Slug:
cute-mushroom-plushie-crochet-pattern
Featured Image Filename:
cute-mushroom-plushie-crochet-pattern-amigurumi.jpg
Featured Image Alt Text:
Cute mushroom plushie crochet pattern and handmade amigurumi mushroom toy
Image Title:
Cute Mushroom Plushie Crochet Pattern & Amigurumi Toy
Image Caption:
A cute handmade mushroom plushie created with crochet and amigurumi techniques.
Final Thoughts
This Cute Mushroom Plushie Crochet Pattern is a fun project for anyone who loves woodland-inspired amigurumi and handmade crochet toys. The simple rounded shapes make the mushroom easy to customize, while different cap colors, spots, faces, and decorative details can give every mushroom its own personality.
Make one mushroom as a small handmade gift or create several in different colors to build an adorable woodland-inspired crochet collection.

