Introduction
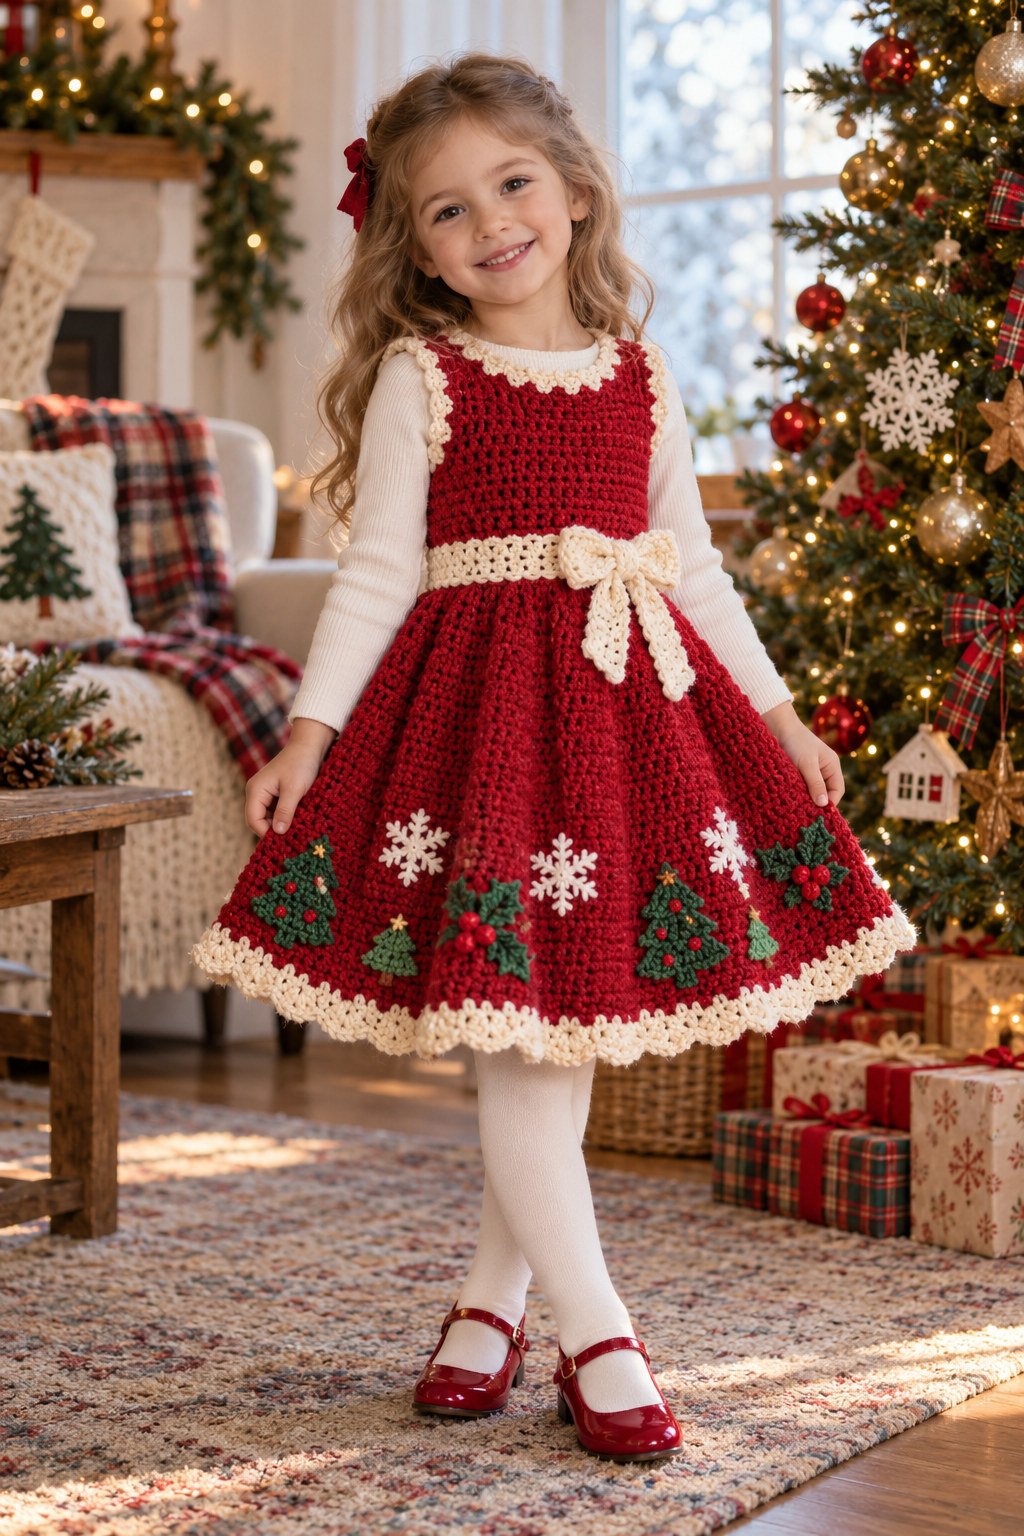
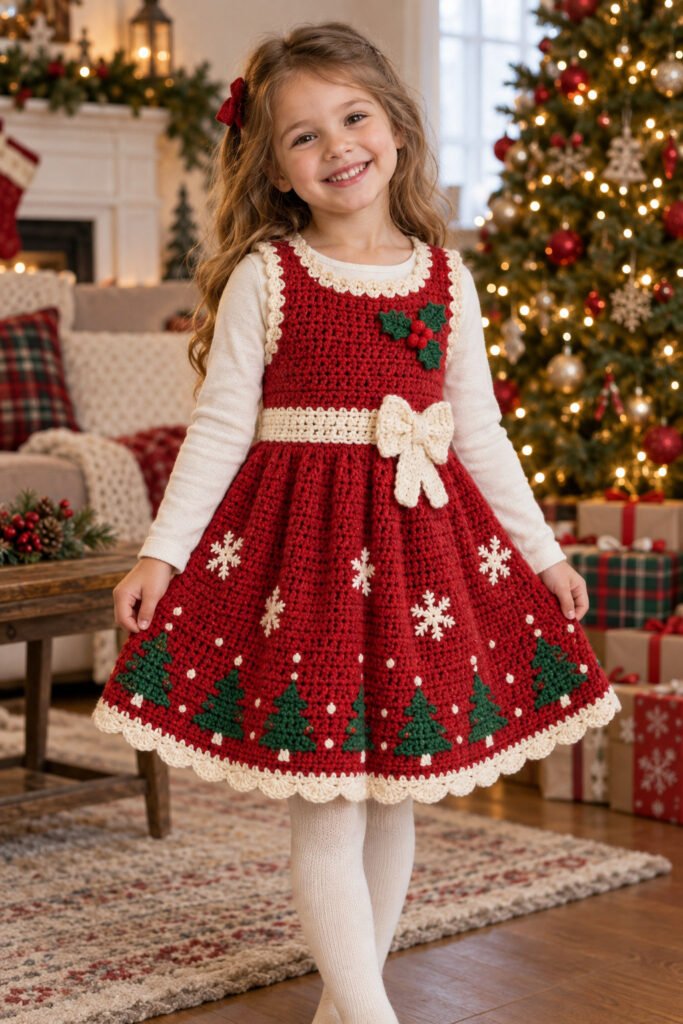
The photo shows a festive red sleeveless crochet dress with a fitted-looking bodice and a full, flared skirt. Cream trim outlines the neckline and armholes, and a matching cream band and bow mark the waist. A holly-style accent decorates the chest, while the skirt has small snowflake and Christmas-tree motifs. Together, the details create a classic handmade holiday outfit for a little girl.
This is an original visual planning guide, not a tested, graded, row-by-row pattern. The image does not identify the stitch, yarn, size, construction, gauge, closure, or method used for the motifs. Use a child-dress construction you trust and adapt the colors and decorations to the child’s measurements.
Why You’ll Love This Dress
- A cheerful holiday palette: Red, cream, and evergreen details make the dress feel festive without needing complicated color changes throughout.
- A special occasion silhouette: The photo pairs a simple sleeveless bodice with a fuller skirt that can move comfortably.
- Plenty of ways to personalize: Change the motifs, trim color, skirt length, or bow placement to suit your own style.
- A chance to practice finishing: Edging, waist details, and small appliqués let you add a polished look to a familiar garment shape.
- Easy to coordinate: A cardigan, tights, or a plain long-sleeved top can be added for cooler weather.
Skill Level
Suggested level: Intermediate. The look combines garment shaping, a flared skirt, neat edging, and decorative motifs. A confident beginner can use a child-dress pattern with clear shaping instructions, then add simple sewn-on appliqués after the base garment is complete. The photo itself does not show enough detail to determine the stitch sequence.
Materials
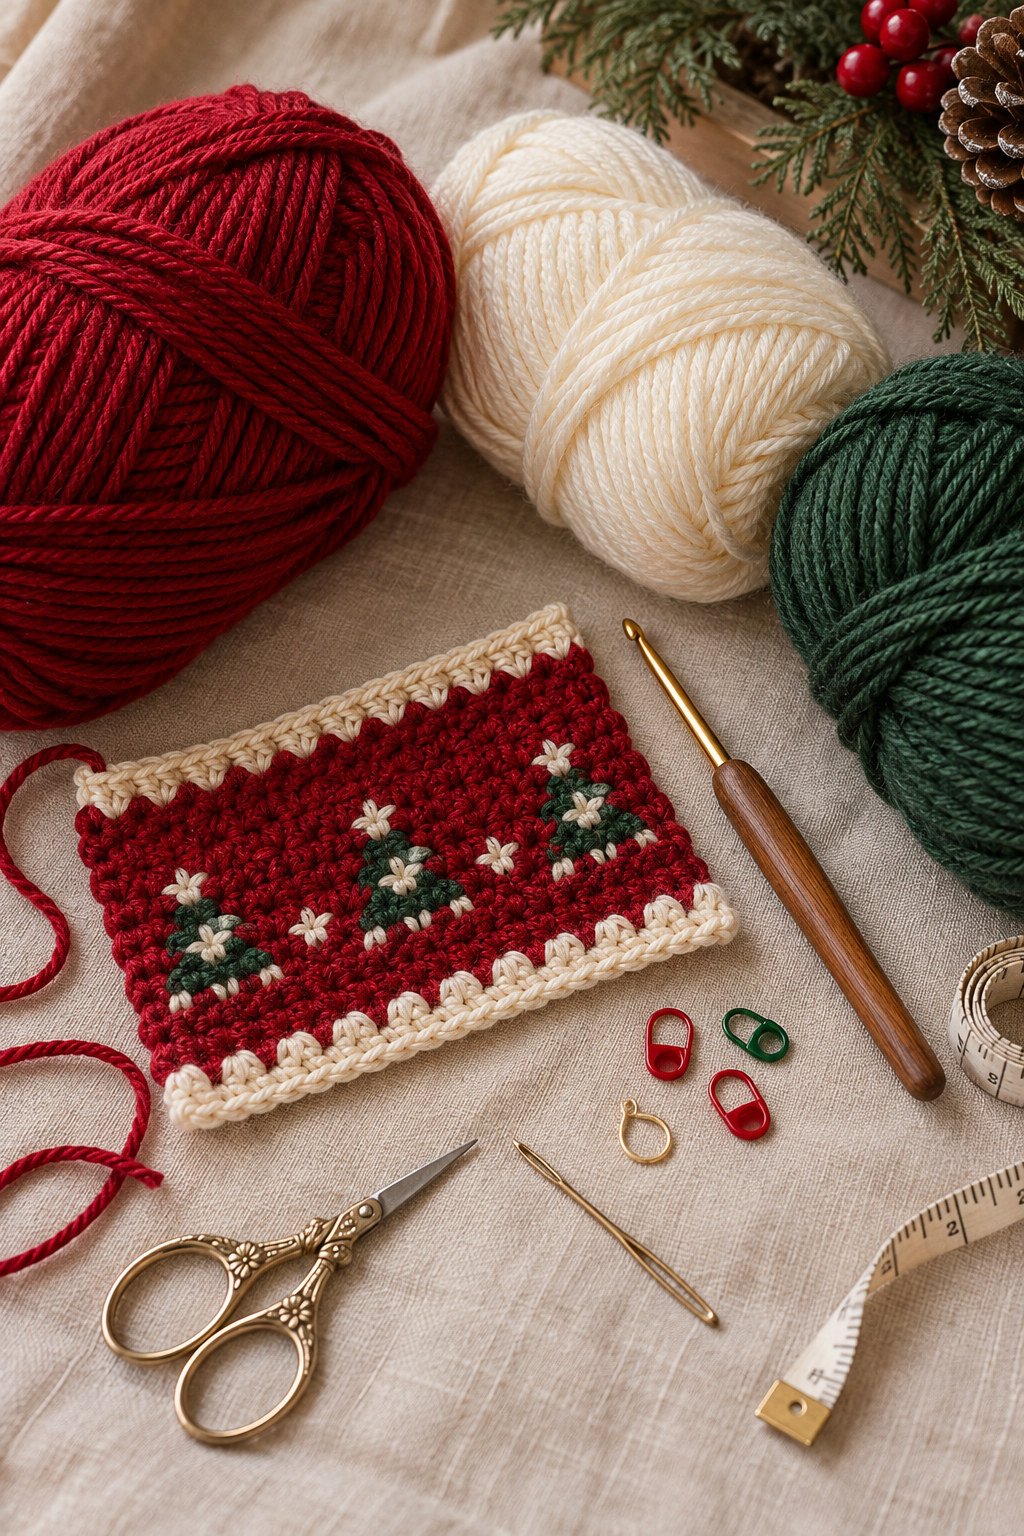
- Smooth, soft yarn in holiday red
- Cream or ivory yarn for the neckline, armholes, waist band, and bow
- Evergreen yarn for leaves and tree motifs
- Small amounts of brown and optional gold or white for motif details
- Crochet hook selected by swatching
- Flexible tape measure and stitch markers
- Scissors and a yarn needle
- Paper or a digital chart to plan motif placement
- Optional child-safe closure or lining components, if your chosen construction calls for them
Yarn Recommendations
Choose a comfortable, washable yarn that feels soft against a child’s skin and has enough structure to support the bodice and skirt. A smooth yarn makes the cream edging and small motifs easier to see. Use the same yarn line and weight across the colors when possible so the fabric behaves consistently.
Check the care label and test the red yarn with a small swatch to see whether its color transfers during washing. Avoid very fuzzy yarn if you want the small snowflake and tree details to remain crisp. The photo does not reveal the fiber or yarn weight used.
Hook Size
The hook size cannot be identified from the image. Start with the recommendation on your yarn label, then swatch in the stitch pattern and color combination you plan to use. Adjust until the fabric has the coverage and drape you want while remaining comfortable. Recheck your tension when switching colors or adding a denser motif.
Gauge
No reliable gauge is visible in the photo. Make and wash a swatch in the actual yarn and stitch pattern, including a color change or motif. Measure it after it has dried, then follow the gauge and sizing directions of the child-dress construction you choose. The finished fit depends on the yarn, stitch, and shaping method.
Finished Measurements
Exact finished measurements and size range are not provided by the reference. Measure the child and compare those measurements with the size chart for your chosen dress pattern. Useful points include chest, waist, shoulder-to-waist length, armhole depth, neckline width, and desired skirt length. Check the garment during construction so the bodice and armholes sit comfortably and allow movement. The photo cannot provide a reliable age-to-size or ease estimate.
Crochet Abbreviations
These common US crochet terms may be used by the dress pattern you select. Follow its stitch definitions and construction notes.
- ch: chain
- sl st: slip stitch
- sc: single crochet
- hdc: half double crochet
- dc: double crochet
- st(s): stitch(es)
- sp(s): space(s)
- rep: repeat
- MC: main color
- CC: contrast color
- RS: right side
- WS: wrong side
- BLO: back loop only
Construction Overview
The visible design has a sleeveless bodice, a defined waist, and a skirt that flares outward. Cream edging follows the neck and armholes, with a cream waist detail and bow. The holly, snowflake, and tree decorations could be crocheted into the fabric, embroidered, or attached as appliqués; the photo does not reveal which method was used. It also does not show the back, closure, lining, or inside finishing.
For a similar look, begin with a child-dress construction that fits well, then plan the trim and motifs around its shaping. Add decorations after checking the garment’s fit and stretch.
Step-by-Step Guidance for a Similar Look
These steps explain how to plan a dress inspired by the photo. They do not supply stitch counts, a motif chart, or sizing instructions.
1. Choose a suitable dress construction
Select a child-dress pattern with a neckline, armholes, waist, and skirt shape you understand. Use its size chart and shaping directions rather than estimating a size from the picture. Decide whether you want a sleeveless dress as shown or plan to layer it over a long-sleeved shirt.
2. Measure and plan the color placement
Measure the child and compare the results with your chosen pattern. Sketch the red bodice and skirt, cream trim and waist band, and the positions of the holly, snowflakes, and trees. Keep the layout balanced while leaving enough space around seams and openings.
3. Swatch the fabric and colors
Make a sample in the stitch pattern you intend to use. Include the red and cream yarns, and test a small motif if you plan to add one. Wash and dry the sample as you expect to care for the dress. Check that the fabric feels comfortable and that the colors and stitches remain distinct.
4. Work the bodice
Follow your chosen pattern’s instructions for the bodice, neckline, armholes, and waist shaping. Try the garment on or compare it with the child’s measurements as you go. The reference shows a red bodice with cream edging, but it does not reveal whether the bodice is worked in one piece or assembled from panels.

5. Shape the skirt
Continue from the waist using the skirt construction in your chosen pattern. The photo suggests a fuller skirt, but it does not reveal the increase method or stitch counts. Check the length and volume as you work, and keep the skirt light enough for comfortable movement.
6. Add the holiday motifs and trim
Place the holly accent on the bodice and arrange snowflakes and trees across the skirt. You can embroider or attach motifs after the dress is shaped, or use a colorwork method you know. Add the cream neckline, armhole, and waist details according to your chosen construction. Secure every decorative piece firmly, and skip small detachable embellishments for young children.

7. Finish the waist bow and closures
The photo shows a cream bow at the waist, but does not show how it is fastened. Make a separate bow and sew it securely in place, or choose another comfortable waist detail. Avoid long loose ties, and use only closures suitable for the child and securely attached to the garment.
8. Check fit and finish
Weave in ends, inspect the inside for loose strands, and finish all edges neatly. Check that the neckline, armholes, waist, and skirt allow comfortable movement. Wash or block according to the yarn label, then check the fit again before wearing.
Customization Ideas
- Use deep green or cream for the bodice and keep red for the skirt.
- Replace the trees and snowflakes with stars, candy canes, or simple holly leaves.
- Add a cardigan-friendly sleeveless version or layer it over a shirt.
- Make the skirt shorter or longer by following your chosen pattern and the child’s measurements.
- Use embroidered motifs or appliqués instead of carrying several yarn colors.
- Replace the waist bow with a flat decorative band for a simpler finish.
- Make a matching hair bow from the same cream yarn, securely attached to a clip for adult supervision.
Finishing
Weave in every yarn end securely and check seams and motif edges from the inside. Block gently if the yarn label allows, shaping the skirt without stretching the bodice or trim. Let the dress dry completely before attaching any separate waist detail. Recheck closures and embellishments before the child wears the outfit.
Care Instructions
Follow the yarn label for washing and drying. If the colors are new, test a swatch for color bleeding before washing the dress. Remove detachable accessories first. Use a gentle wash or hand wash only if the yarn label allows, avoid wringing, and dry flat when needed to protect the shape. Store the dress folded so the skirt and bow are not stretched.
Helpful Tips
- Use the size chart and measurements from a child-dress pattern you trust.
- Swatch in the actual colors; color changes can affect fabric tension.
- Keep the motif plan clear of seams, armholes, and closures.
- Try on or measure the dress during construction rather than waiting until the end.
- Sew appliqués down securely and check them regularly for loose edges.
- Keep small, detachable decorations away from garments worn by babies and toddlers.
- Treat the reference as a style guide, not as a source for exact counts, measurements, or tested instructions.
Frequently Asked Questions
Is this a complete counted crochet pattern?
No. This is an original visual guide based on the supplied image. The photo does not provide stitch counts, a chart, gauge, measurements, or the construction details needed for a complete pattern.
What stitch is used for the dress?
The individual stitches are not clear enough to identify with confidence. Choose a stitch pattern from a child-dress design you trust and swatch it with the yarn colors you plan to use.
What size should I make?
Measure the child and compare those measurements with the size chart for your chosen pattern. The photo does not establish an age, size, or amount of ease.
How can I add the Christmas trees and snowflakes?
You can use a colorwork method, embroidery, or securely sewn appliqués. Swatch first to make sure the decorations do not make the skirt stiff or uncomfortable.
Is the waist bow attached or tied?
The image does not show how it is fastened. A securely sewn-on bow gives a similar look without relying on a loose tie. Choose details appropriate for the child’s age and supervise wear as needed.
Can I make the dress without appliqués?
Yes. The red dress with cream edging and waist detail can stand on its own, and skipping the motifs makes the garment simpler to finish and care for.
Final Thoughts
A red holiday dress with cream trim and small seasonal motifs is a charming project for a special occasion. Start from a child-dress construction that fits, swatch your yarn and colors, and place the decorations only after the main shape is comfortable. The reference gives a clear festive palette and silhouette, while your chosen pattern and measurements will determine the final fit.