
Introduction
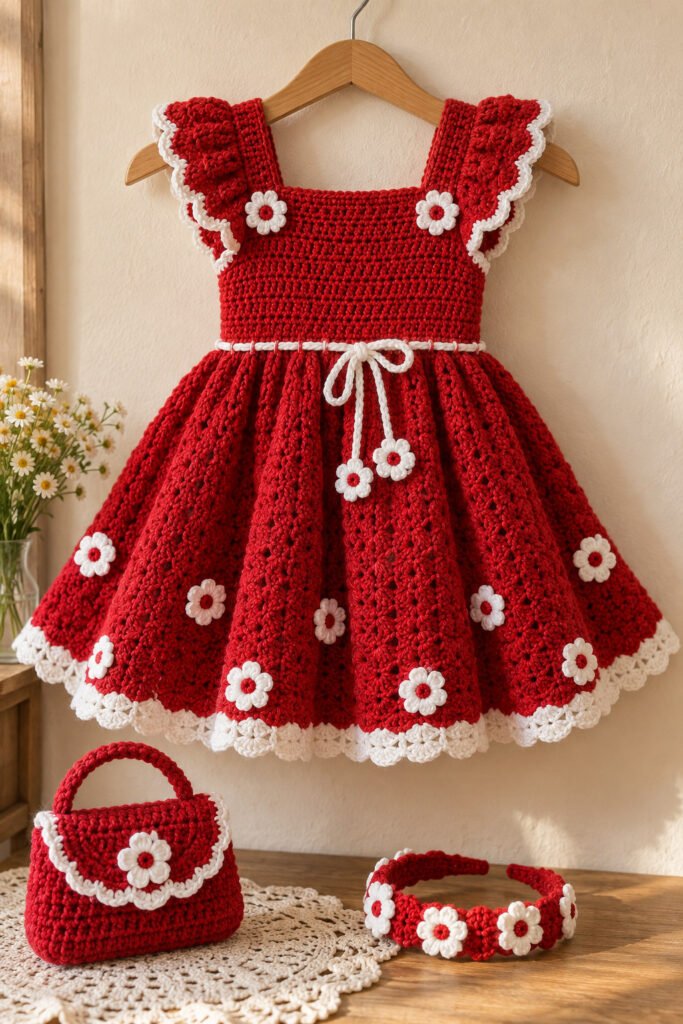
This handmade red crochet dress has a festive, garden-inspired look built around a vivid red fabric and crisp white details. In the reference, wide shoulder straps have a softly ruffled shape, white trim outlines the straps and bodice, and small daisy-like flowers decorate the full skirt. A white tie marks the waist, with floral accents at its ends. The photo also includes a matching red bag and headband as optional accessories.
This is an original visual planning guide based on the supplied image, not a tested or counted crochet pattern. The photo does not reveal the yarn weight, hook size, stitch sequence, gauge, finished measurements, closure, or how the flowers and ruffles are made. Use a child’s dress pattern with clear shaping and sizing, then adapt the color palette and decorations to create a similar style.
Why You’ll Love This Dress
- Bright, classic colors: Red and white make the floral details stand out clearly.
- A special occasion shape: The fitted-looking bodice and fuller skirt create a playful dress silhouette.
- Pretty handmade details: Ruffled straps, scalloped trim, daisy motifs, and a waist bow add texture and charm.
- Room to make it your own: Change the flower colors, skirt length, trim, or accessories to suit the wearer.
- Optional matching pieces: The photo pairs the dress with a small bag and headband that can be crocheted separately.
Skill Level
Suggested level: Intermediate. The visual design combines garment shaping, a full skirt, textured strap edges, and multiple floral motifs. A confident beginner could start with a simpler child’s dress pattern and add securely sewn-on flowers and a basic edging after the garment is complete.
Materials
- Soft red yarn for the dress
- White or ivory yarn for trim, flowers, and the waist detail
- Small amounts of a contrasting color for flower centers, if desired
- Crochet hook selected by swatching with the chosen yarn
- Scissors and a yarn needle
- Stitch markers and a flexible tape measure
- Optional yarn and supplies for a matching small bag or headband
- Optional blocking mat and rustproof pins, if appropriate for the yarn

Yarn Recommendations
Choose a smooth, washable yarn that feels comfortable against a child’s skin and has enough structure to support the bodice and skirt. A smooth surface helps the white flowers and edging remain easy to see. The photograph does not identify the fiber or yarn weight, so select a yarn that works with the dress pattern you choose and swatch the red and white together to check their drape and colorfastness.
Use compatible yarns for the main fabric and details so the dress behaves consistently after washing. Check the care label and test the red yarn on a sample to see whether the color transfers before combining it with white.
Hook Size
The hook size cannot be determined from the image. Start with the yarn label’s suggested hook, then make a swatch in the stitch pattern you plan to use. Choose a hook that gives you comfortable, even fabric with suitable coverage and enough drape for the skirt. Recheck your tension when switching between the red fabric and denser flower motifs.
Gauge
No reliable gauge is visible in the photograph. Follow the gauge instructions of your chosen child’s dress pattern and make a washed swatch in the actual yarn and stitch pattern. The bodice needs a comfortable fit, while the skirt should move easily without becoming too heavy. The image cannot provide a stitch repeat or target gauge.
Finished Measurements
The image does not provide an exact size or finished measurements. Measure the child and compare the results with the size chart of the dress pattern you choose. Useful measurements may include chest, waist, shoulder-to-waist length, armhole depth, and preferred skirt length. Check fit during construction; do not infer age or sizing from the photograph.
Crochet Abbreviations
These common US crochet terms may appear in your chosen dress or flower pattern. Follow the pattern’s own stitch definitions.
- ch: chain
- sl st: slip stitch
- sc: single crochet
- hdc: half double crochet
- dc: double crochet
- tr: treble crochet
- st(s): stitch(es)
- sp(s): space(s)
- rep: repeat
- RS: right side
- WS: wrong side
- BLO: back loop only
Construction Overview
The visible dress has a red bodice, broad shoulder straps with gathered or ruffled edges, a fuller skirt, and white decorative trim. Daisy-like flowers are attached across the skirt, and a white waist tie finishes the center. A small bag and headband are shown as matching accessories.
The photo does not show the back, seams, closure, lining, or how the skirt joins the bodice. It also does not reveal whether the flowers are crocheted separately, embroidered, or worked into the fabric. For a similar result, use a dress construction you trust and add the decorative elements after checking the fit and drape.
Step-by-Step Guidance for a Similar Look
These steps outline a visual approach inspired by the photo. They do not provide stitch counts, flower instructions, or size-specific shaping.
1. Choose a dress base and size
Select a child’s dress pattern with a bodice, shoulder straps, and a fuller skirt. Use its measurement chart and construction directions rather than estimating size from the photo. Decide whether the skirt should be a similar length or adjusted for the wearer and occasion.
2. Swatch the yarn and colors
Make a swatch in the chosen red yarn and test the white yarn beside it. Wash and dry the sample as you expect to care for the dress. Check color transfer, stitch definition, and whether the fabric is comfortable for clothing.
3. Work the bodice
Follow your chosen pattern for the bodice, armholes, and neckline. Try it on or compare it with the wearer’s measurements as you go. The image shows a simple red bodice with a white-trimmed top edge, but it does not reveal how the pieces are shaped or joined.
4. Add the shoulder straps and edging
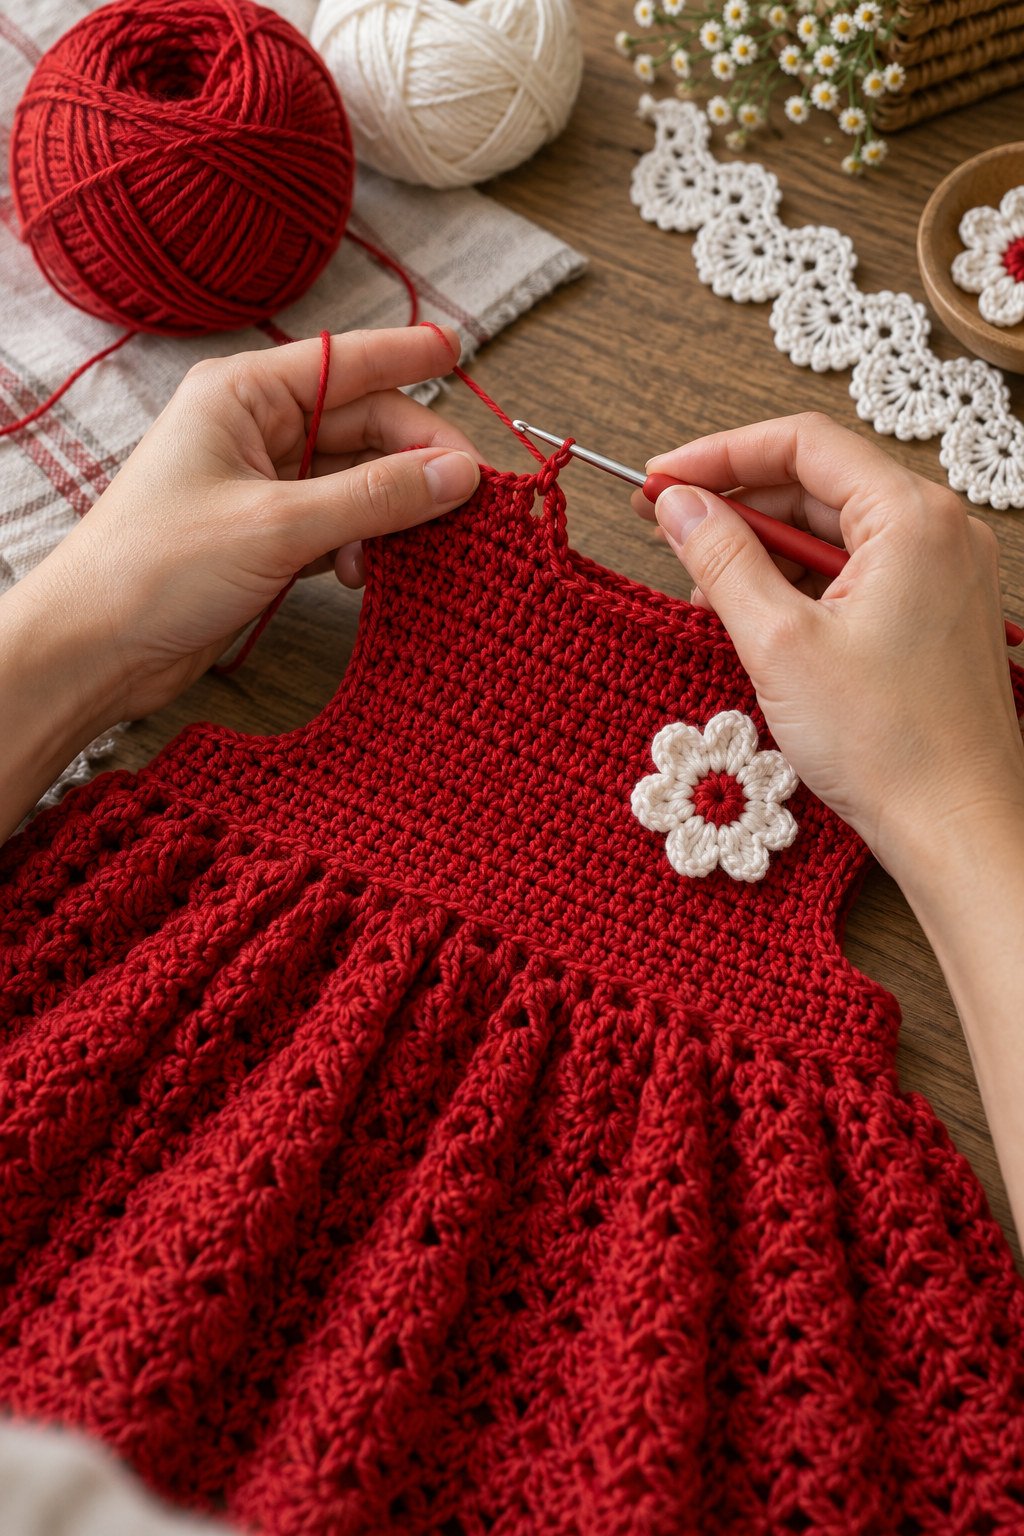
Make the straps according to your selected construction, then add white trim to echo the reference. If you want a ruffled look, test the edging on a swatch first so it sits softly without pulling the strap out of shape. Secure strap joins firmly.
5. Shape the skirt
Continue with the skirt method from your chosen dress pattern. The photo suggests a gathered or flared silhouette, but it does not show the increase sequence or stitch counts. Check the fabric’s weight as it grows and make sure the skirt allows comfortable movement.
6. Plan and attach the flowers
Arrange daisy-like motifs across the skirt, keeping their spacing balanced around the front and sides. The flowers could be separate appliqués, embroidery, or colorwork; the image does not identify the method. Make one sample first and sew any separate motifs down securely around their edges.

7. Finish the waist detail
The reference shows a white tie at the waist with small floral details near the ends. You can echo this with a decorative band or a securely attached bow. For young children, avoid long loose ties; choose a comfortable, securely fastened alternative appropriate for the child’s age.
8. Make optional accessories
The photo includes a small red bag and a matching headband. If you want these extras, make them as separate accessories using the same red yarn and a small white flower. Keep closures and embellishments secure and age-appropriate.
9. Finish and check the garment
Weave in the ends, inspect the inside for loose strands, and check the neckline, straps, waist, and hem. Wash or block according to the yarn label and recheck the fit after the fabric dries.
Customization Ideas
- Use white or cream flowers with red centers, or reverse the colors for contrast.
- Replace the red with berry, navy, or a softer pastel shade.
- Use a simple straight strap instead of a ruffled edge.
- Add fewer flowers for a cleaner look or cluster them near the hem.
- Replace the waist tie with a flat decorative band.
- Make the bag or headband as a separate coordinated accessory.
- Adjust the skirt length by following your chosen pattern and the wearer’s measurements.
Finishing
Weave in all ends securely and check every flower, strap join, bow, and edging from the inside. Block gently only if the yarn label allows it, shaping the skirt without stretching the bodice or straps. Confirm that decorative pieces are secure and that no loose loops or ends can catch during wear.
Care Instructions
Follow the yarn label for washing and drying. Test the red and white yarns together on a swatch first to check for color bleeding. Remove separate accessories before washing. Use a gentle wash or hand wash only when recommended for the yarn, avoid wringing, and dry flat if needed to preserve the dress shape.
Helpful Tips
- Use the measurements and size chart from a child’s dress pattern you trust.
- Swatch the red and white yarns together before starting the garment.
- Try on or measure the bodice during construction rather than waiting until the end.
- Plan flower placement before sewing motifs to the skirt.
- Secure the straps and appliqués firmly and inspect them regularly.
- Avoid long loose waist ties and small detachable embellishments for young children.
- Treat the image as a style reference, not as a source for exact counts, sizing, or tested instructions.
Frequently Asked Questions
Is this a complete counted crochet pattern?
No. This is an original visual guide based on the supplied image. It does not include stitch counts, a flower chart, gauge, or size-specific shaping instructions.
What stitch is used for the red dress?
The stitches are not clear enough to identify with confidence. Use a child’s dress pattern with clear instructions and swatch the stitch pattern in your chosen yarn.
What size should I make?
Measure the child and follow the size chart for your chosen pattern. The photo does not establish an age, size, or amount of ease.
How can I add the white flowers?
You can use securely attached crochet appliqués, embroidery, or a colorwork method you know. Make a sample first to check that the motifs do not make the skirt stiff.
Is the waist tie adjustable?
The image shows a tie but does not reveal how it is attached or whether it is adjustable. Consider a sewn-on bow or flat band for a secure decorative finish, especially for young children.
Are the bag and headband part of the dress pattern?
They appear as coordinating accessories in the photo, but the image does not provide their construction details. They can be made separately using matching yarn and flower motifs.
Final Thoughts
This red floral crochet dress combines a full skirt, white daisy details, and softly ruffled straps for a cheerful handmade look. Begin with a child’s dress pattern that fits, swatch the colors, and add the flowers and trim after the main shape is comfortable. The reference supplies the palette and visible design ideas; your chosen pattern and measurements will determine the finished garment.

