
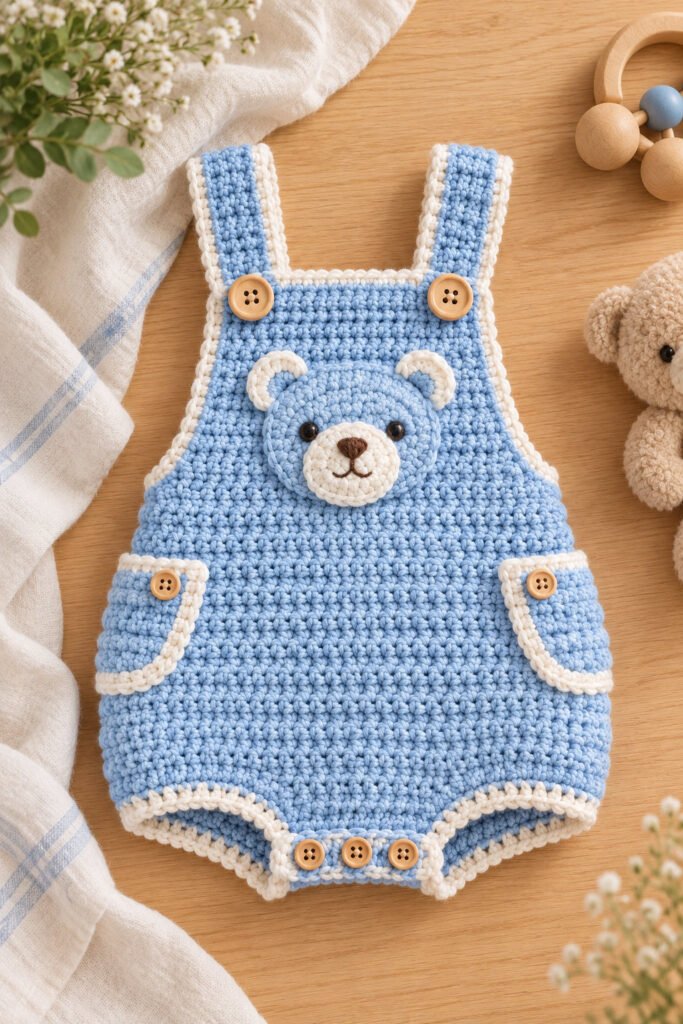
This blue bear pocket crochet romper is a sweet handmade outfit with the charm of classic overalls and a playful teddy-bear bib. The visual design pairs a powder-blue, densely textured body with cream edging, two front pockets, buttoned shoulder straps, and a small bear-face appliqué. A neatly finished lower opening completes the romper silhouette.
The guide below explains how to plan and assemble a romper inspired by the photo. The image does not show a written pattern, yarn label, hook, gauge, or size, so exact stitch counts and finished measurements cannot be supplied responsibly. Use your own measurements and a carefully checked swatch before making a wearable garment.
Why You’ll Love This Romper
- A memorable little bear bib: A raised bear appliqué gives the front a friendly focal point without needing an allover motif.
- Useful overall styling: Shoulder straps and a bib make the outfit look like miniature overalls, while the short-leg body keeps the silhouette playful.
- Room for color play: Powder blue and cream create the soft look in the reference, but the same layout works in many color combinations.
- Personalized details: Pockets, strap buttons, edging, and embroidered facial features can all be adjusted to suit your taste.
- A thoughtful handmade gift: With a measured fit and baby-safe finishing, the romper can become a special outfit for photographs or visits.
Skill Level
Suggested level: Intermediate. The basic fabric can be made with familiar stitches, but a romper calls for careful fitting, leg-opening shaping, sturdy strap attachment, and tidy finishing. The bear appliqué and pocket placement also benefit from attention to symmetry. Makers new to garments may want to practice the body stitch and edging on swatches first.
Finished Measurements and Fit Planning
The reference image does not provide a size label or measurements. Before starting, record the intended wearer’s chest, torso length from shoulder to crotch, seat, leg-opening circumference, and strap length. Compare those numbers with a well-fitting garment and allow comfortable room for movement and a diaper where needed. Do not use age alone as a sizing substitute; babies vary considerably.
Make a paper sketch or simple template for the front, back, bib, pockets, and straps. Recheck the body length and leg openings as you work. A garment that looks cute on a flat lay still needs enough ease to sit, crawl, and move comfortably.
Materials
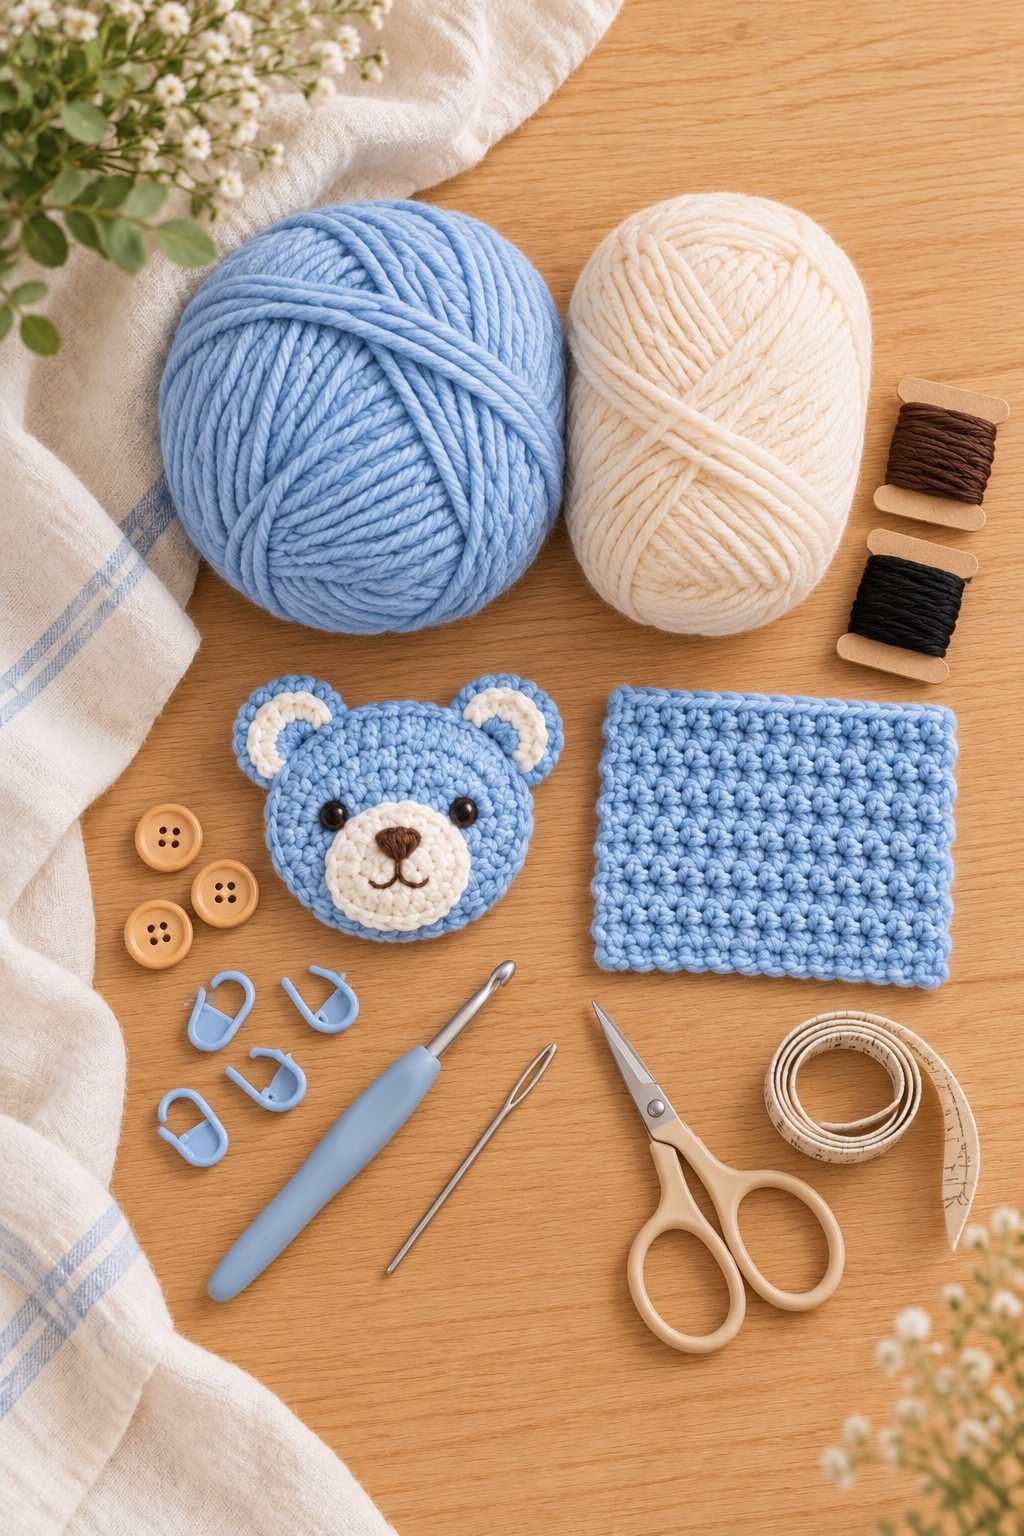
- Soft, washable yarn for the main romper in powder blue
- Matching cream yarn for the edging, bear muzzle, and inner ears
- Small amounts of brown and dark yarn for the bear’s embroidered nose, mouth, and eyes
- Crochet hook selected from the yarn label and your gauge swatch
- Flexible tape measure and stitch markers
- Blunt-tip yarn needle and scissors
- Optional securely attached closures suitable for baby clothing
- Optional paper and pencil for a measurement sketch
Yarn Recommendations
Choose a smooth, soft, machine-washable yarn intended for garments. A light worsted or medium-weight yarn can create the substantial texture shown in the photo, while a lighter DK yarn may make a softer, less bulky romper. These are starting points rather than confirmed details from the image. Select one yarn weight for the whole garment and check that the fabric remains comfortable against sensitive skin.
Cotton or a cotton blend can feel breathable, while washable acrylic or a soft acrylic blend is often easy to care for. Avoid scratchy, shedding, or very fuzzy yarn because it can obscure stitch definition and make the bear’s details harder to secure. Use a contrasting cream for the edges and muzzle, with embroidery yarn or smooth scraps for the face.
Hook Size and Gauge
Hook size: The hook used in the reference cannot be identified. Start with the size recommended on your yarn label, then adjust after making a swatch. A dense fabric should be stable without feeling stiff or restricting movement.
Gauge: No numerical gauge is available from the image. Because fit matters in a baby garment, make and wash a generous swatch in the stitch texture you plan to use. Measure stitches and rows across a four-inch square, then use that personal gauge with your chosen measurements to plan panel dimensions. If the fabric is too firm, try a larger hook; if it is loose and gaps easily, try a smaller one.
Crochet Abbreviations
The abbreviations below use standard US crochet terms. They are a reference for planning; this image-inspired guide does not assign them to counted rows.
- ch – chain
- dec – decrease
- inc – increase
- sc – single crochet
- sl st – slip stitch
- st(s) – stitch(es)
- yo – yarn over
The photograph does not reveal whether the original was worked flat or in joined or continuous rounds. Choose a method that suits your construction, note whether turning chains count as stitches, and keep stitch placement consistent throughout.
Construction Overview
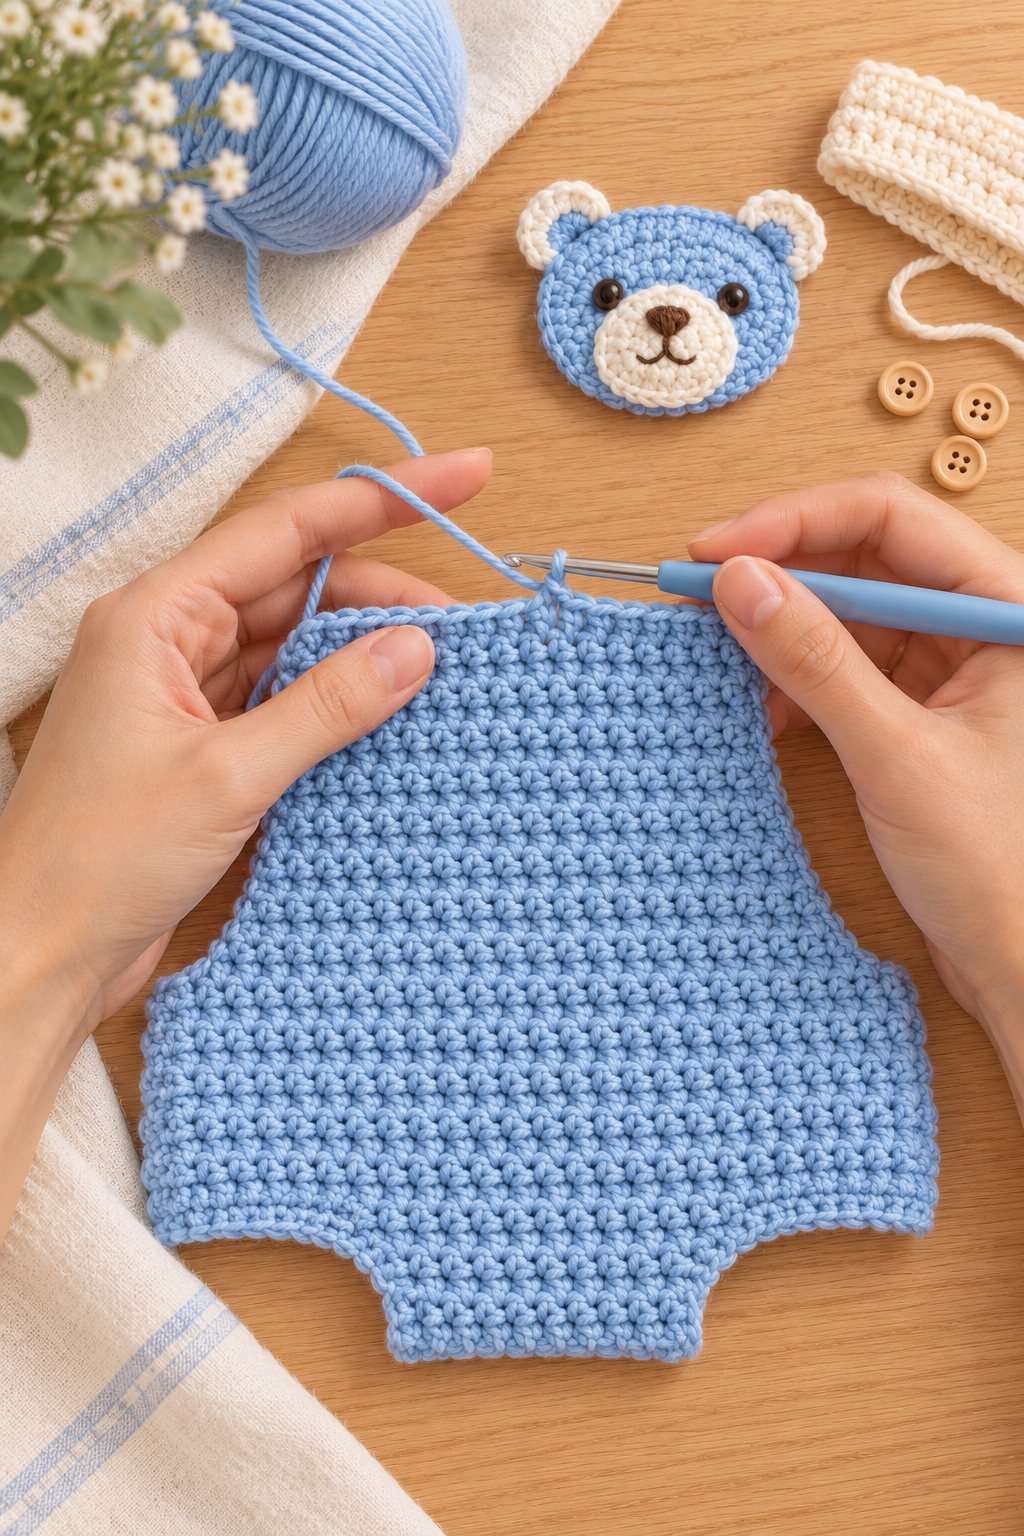
The visible romper has a bib-front overall shape, shoulder straps, a textured main body, two small patch pockets, a bear-face appliqué, cream edging, and a lower opening finished with buttons. The photo does not show the back or the exact assembly method. One practical recreation is to make front and back body sections to the wearer’s measurements, join the sides while shaping the leg openings, then add the bib, straps, pockets, appliqué, and trim. Another approach is to work the body as one piece if that better fits your chosen stitch and pattern plan.
Image-Inspired Step-by-Step Guidance
These stages describe the visible design rather than a counted, row-by-row pattern.
- Plan the fit. Take the intended wearer’s measurements and draw a front-and-back outline. Mark the bib height, strap position, pocket location, crotch opening, and leg openings. Decide how the garment will open for dressing and diaper changes.
- Swatch the body texture. The romper uses a compact, raised-looking fabric, but the exact stitch cannot be identified from the photo. Test a few familiar dense stitches with your yarn. Choose the swatch that has similar coverage, drape, and softness, then record its washed gauge.
- Make the body. Crochet the front and back sections, or plan a one-piece construction, using the measurements and gauge you established. Shape the lower body so the leg openings are comfortable and the fabric does not pull across the seat. Try the developing pieces against a garment with a good fit.
- Form the bib and straps. Continue or attach the bib section at the front, keeping the top edge even. Make two straps wide enough to sit comfortably on the shoulders. Add buttonholes only if they are suitable for your selected closure and secure finishing.
- Add the pockets. Crochet two matching patch pockets in the main color. Pin them in place before sewing so their height and spacing look balanced. Keep the pocket openings shallow and secure their lower and side edges firmly.
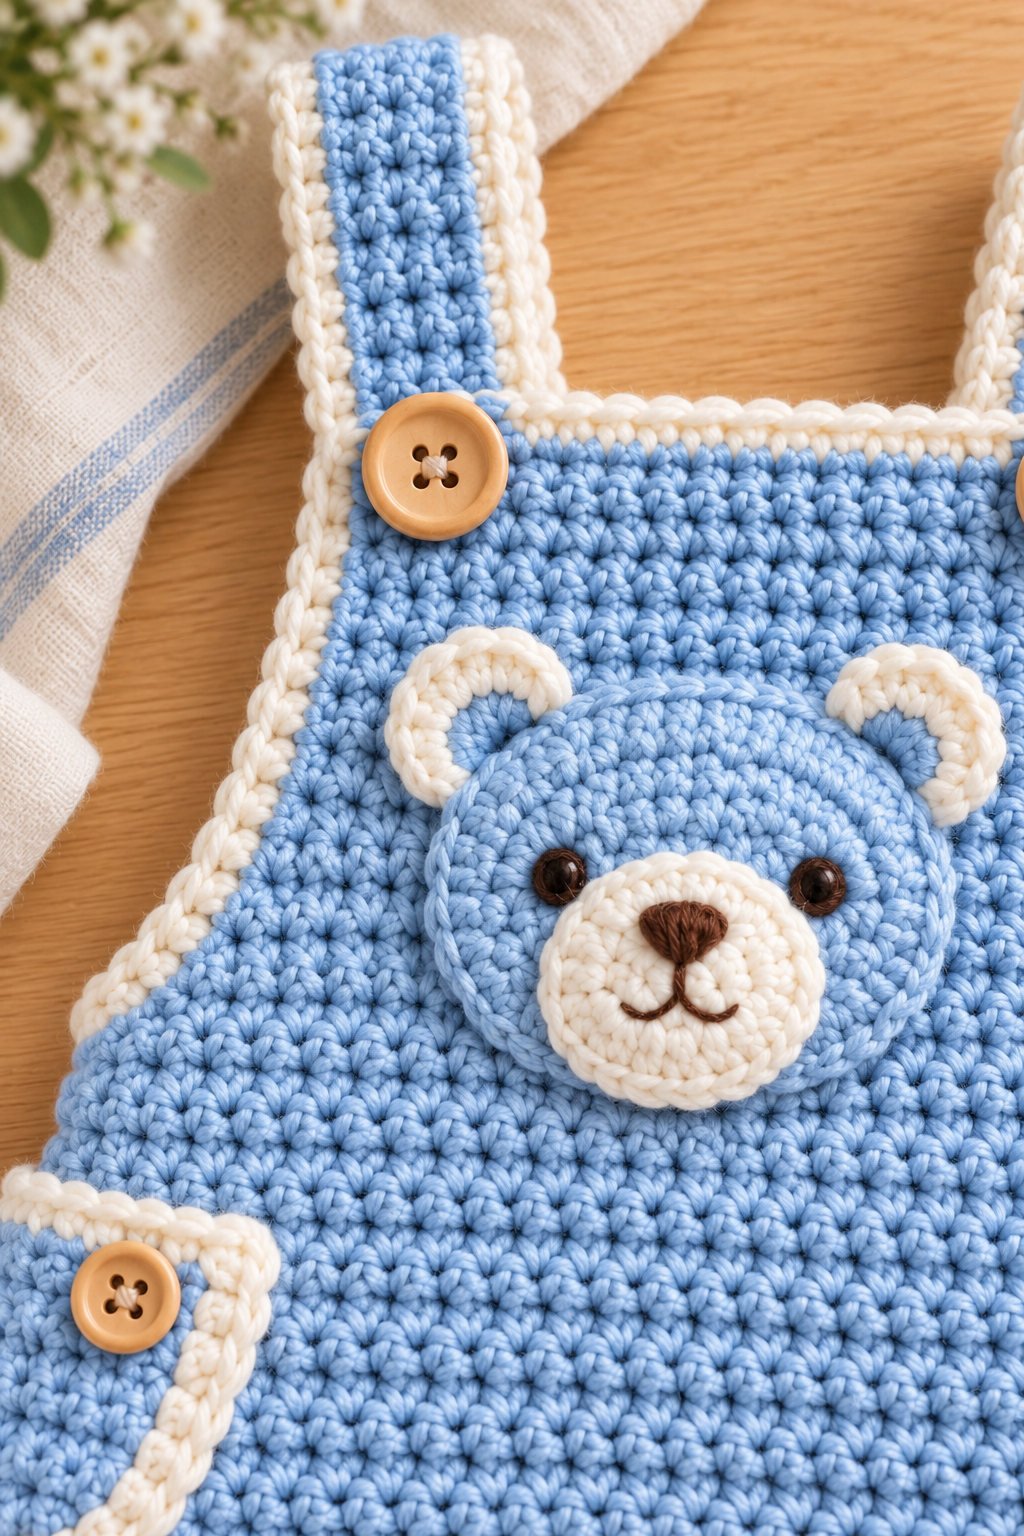
- Create the bear face. Crochet or embroider the bear motif from blue and cream yarn, then embroider the eyes, nose, and mouth with smooth yarn. Place it centrally on the bib and sew around the full edge so there are no loose corners.
- Finish with cream edging. Work a neat border along the straps, bib, pocket edges, and leg openings to echo the photograph. Keep the edging relaxed; tight borders can draw the garment inward.
- Add and check closures. Finish the lower opening and straps with a closure plan that is practical for dressing. Secure every fastener and decorative element, then check the garment’s fit and movement before use.
Customization Ideas
- Change the body to sage, lilac, butter yellow, or a neutral shade and keep the cream trim for contrast.
- Make the bear appliqué a little larger or smaller while keeping it centered on the bib.
- Use a simple embroidered initial or a small star instead of the bear, ensuring every detail is securely attached.
- Add a single contrast stripe to the straps or pockets rather than introducing many competing colors.
- Adjust pocket shape to rounded corners or a simple square, matching both pockets carefully.
- Replace decorative buttons with securely installed baby-clothing snaps if that works better for your construction.
Finishing
Weave in all yarn tails on the inside, changing direction several times so they stay secure through washing. Seam or attach the body pieces with the wrong sides aligned, keeping the leg openings even. Pin the straps, pockets, and bear motif before sewing; step back and compare both sides for symmetry. Steam or wet-block only as allowed by the yarn label, shaping the piece gently without stretching the straps or leg openings.
Pay special attention to baby safety. Small buttons, beads, and plastic eyes can present a choking hazard if they loosen. Embroidered facial features are a safer choice than safety eyes for garments used by babies. If you use buttons or snaps, select clothing-appropriate hardware, attach it very securely, inspect it regularly, and remove the garment if anything loosens. Never leave a baby unattended with a loose or damaged fastener.
Care Instructions
Follow the care instructions for your yarn. For a washable yarn, place the romper in a mesh laundry bag and use a gentle cycle if its label permits. Fasten closures first, use mild detergent, and avoid bleach or fabric softener unless the yarn manufacturer recommends them. Reshape while damp and dry flat so the straps and body do not stretch. Store it clean and dry, and check the appliqué and closures before each wear.
Helpful Tips
- Wash and dry your swatch before measuring it; many yarns relax after laundering.
- Use stitch markers at the sides, center front, and leg openings to make fitting checks easier.
- Keep a written note of your personal measurements, gauge, and any changes as you work.
- Test the cream edging on a small sample to make sure it lies flat against the blue fabric.
- Baste pockets and straps temporarily, then check placement before sewing them down.
- Choose a garment-friendly yarn with good stitch definition; fluffy yarn can hide the bear details.
- Inspect all closures and embellishments regularly, especially after laundering.
Frequently Asked Questions
What size is shown in the photo?
The image does not include a size reference, so a reliable age or finished-size range cannot be determined. Use the wearer’s actual measurements and plan the garment with your swatch gauge.
Which stitch makes the raised texture?
The image shows a dense textured fabric, but it does not identify the stitch. Swatch compact stitches with your chosen yarn and select one that gives the coverage and drape you want.
Can I use a different color?
Yes. The design works in other colors. Keep the main body and trim yarns similar in weight and care requirements, and swatch them together to check how the fabric behaves.
Are buttons safe on a baby romper?
Loose buttons and small decorations can be choking hazards. If you choose buttons, use clothing-appropriate buttons, sew them on securely, inspect them frequently, and consider embroidered or securely installed alternatives. Avoid plastic safety eyes on baby garments; embroider the face instead.
Is this a counted, ready-to-follow pattern?
No exact stitch counts, row sequence, gauge, hook size, or finished measurements can be established from the photograph alone. This is an image-inspired design and construction guide; use a tested sizing plan and your own swatch before making a wearable romper.
Final Thoughts
The blue bear pocket crochet romper combines a soft blue body, cream edging, practical-looking pockets, and a friendly bear bib in one coordinated handmade outfit. With a careful swatch, wearer-specific measurements, and secure baby-safe finishing, you can use the photo as a starting point for a romper that fits your own project plans.


