
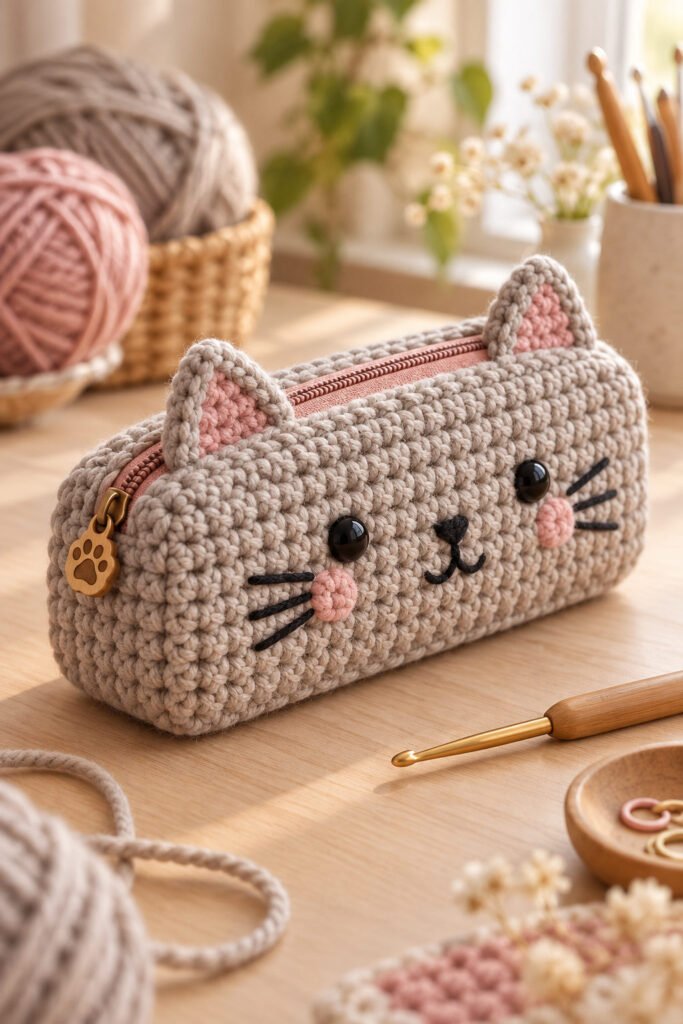
Give everyday school supplies a cozy handmade home with a crochet cat pencil case. This design pairs a softly rounded pouch with little pointed ears, blush inner-ear details, embroidered whiskers, and a zipper across the top. A neutral body yarn keeps the cat face easy to see, while a contrasting zipper and small paw charm add a playful finish.
The reference image shows the finished look but does not provide a stitch sequence, yarn label, measurements, or verified hook size. This article is an original visual construction guide, not a tested counted pattern. Use a swatch and your own pencil measurements to plan the pouch before crocheting.
Why You’ll Love This Cat Pencil Case
- Cute and useful: The cat face gives a practical zip pouch a bit of personality.
- A customizable project: Change the yarn colors, expression, ear shape, or zipper pull to make your own version.
- A good small-gift idea: A handmade pencil case works for school, art supplies, crochet hooks, or travel odds and ends.
- Practice several skills: The project combines crochet fabric, simple shaping, embroidery, motif attachment, and zipper finishing.
Skill Level
This project is best for an advanced beginner or intermediate crocheter. The main pouch fabric can be made with familiar stitches, but shaping a tidy boxy form and sewing in a zipper take patience. If you have not installed a zipper in crochet fabric before, practice on a small swatch or use a fabric lining to stabilize the opening.
Materials
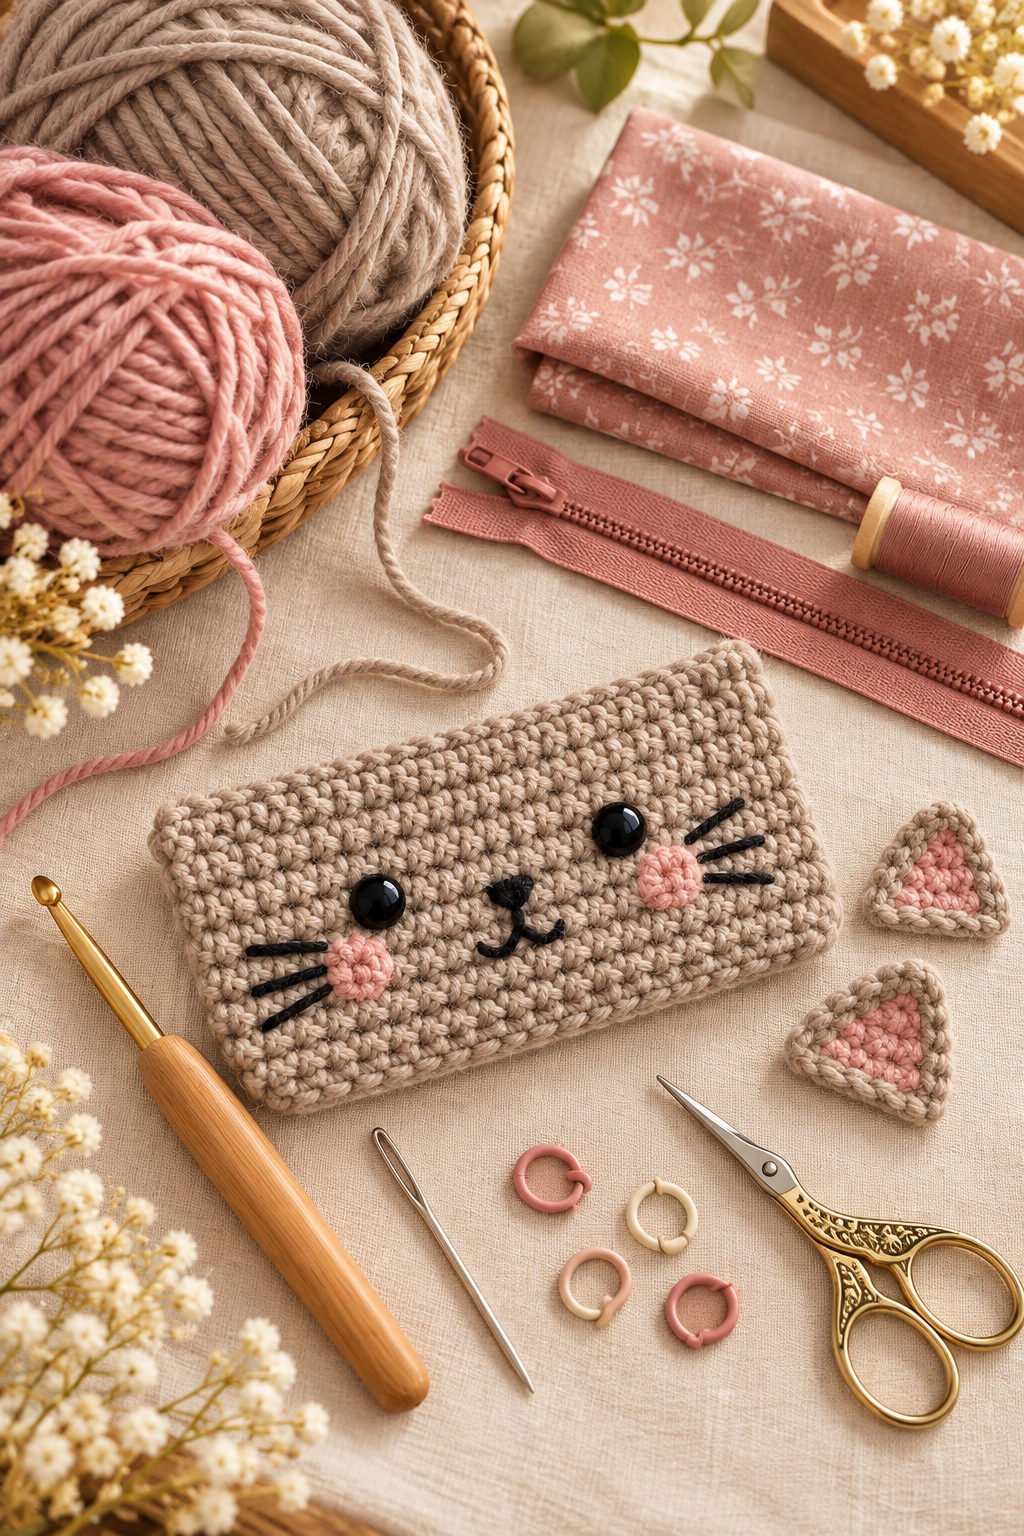
- Smooth, durable yarn for the pouch body, such as taupe, beige, or gray
- Small amounts of pink yarn for the inner ears and cheeks
- Black or charcoal yarn for embroidered eyes, nose, mouth, and whiskers
- Crochet hook selected for your yarn and swatch
- Zipper sized to the opening you plan to make
- Tapestry needle and sewing needle with matching thread
- Scissors, pins or clips, and stitch markers
- Optional lining fabric and a small zipper charm
Yarn Recommendations
Choose a smooth, tightly spun yarn that can stand up to daily handling. Cotton or a cotton blend is a practical option because it shows stitch definition and feels sturdy; a durable acrylic blend can also work. The reference photo does not identify the fiber or yarn weight, so treat the yarn label as your starting point and make a test swatch before deciding on a hook.
Avoid a very fuzzy yarn if you want the embroidered face and zipper edge to stay crisp. Use the same weight for the main body and ear borders so the pieces keep a similar scale. Small amounts of contrasting yarn are enough for the pink inner ears and dark facial details.
Hook Size
The image includes a hook marking, but it does not confirm the hook used to make the pouch. Choose a hook recommended for your yarn and adjust after swatching. The fabric should be dense enough to hold pencils without large gaps, but not so tight that the pouch becomes stiff or difficult to sew through.
Gauge
No verified stitch pattern or gauge is supplied with the image. For a pencil case, use your swatch to check both stitch density and fabric firmness. Measure the swatch after relaxing it, then use those results to estimate a panel size that fits your supplies. A tighter fabric is usually helpful for a pouch, especially if you plan to skip the lining.
Finished Measurements
The reference image does not show reliable dimensions. To choose a useful size, measure the longest pencil, pen, or tool you plan to carry, then allow extra room for the zipper opening and the pouch depth. Record the desired finished length, height, and gusset width before you begin. If you are making a gift, compare your measurements with a familiar pencil case rather than guessing from the photo.
Crochet Abbreviations
Abbreviations below use standard US crochet terminology. The image does not reveal an exact stitch repeat.
- ch — chain
- sl st — slip stitch
- sc — single crochet
- hdc — half double crochet
- dc — double crochet
- st(s) — stitch(es)
- rep — repeat
- RS / WS — right side / wrong side
Construction Overview
The pictured pouch has a rounded rectangular body, a zipper along the top, two triangular ears near the opening, and a cat face embroidered on the front. A paw-shaped charm appears on the zipper pull. The photo does not establish whether the pouch is worked as one piece or assembled from panels. One practical approach is to crochet two matching panels, seam the sides and bottom, add a zipper along the top, and sew on separately made ears. You can add a lining for extra durability and to keep small supplies from catching in the crochet stitches.
Step-by-Step Construction Guide
1. Plan the pouch size
Measure the pencils or tools that will go inside. Decide the pouch length, height, and depth, then make a swatch in your chosen yarn and stitch. Use the swatch to plan panel dimensions; do not rely on the reference image for a numerical size.
2. Crochet the pouch body
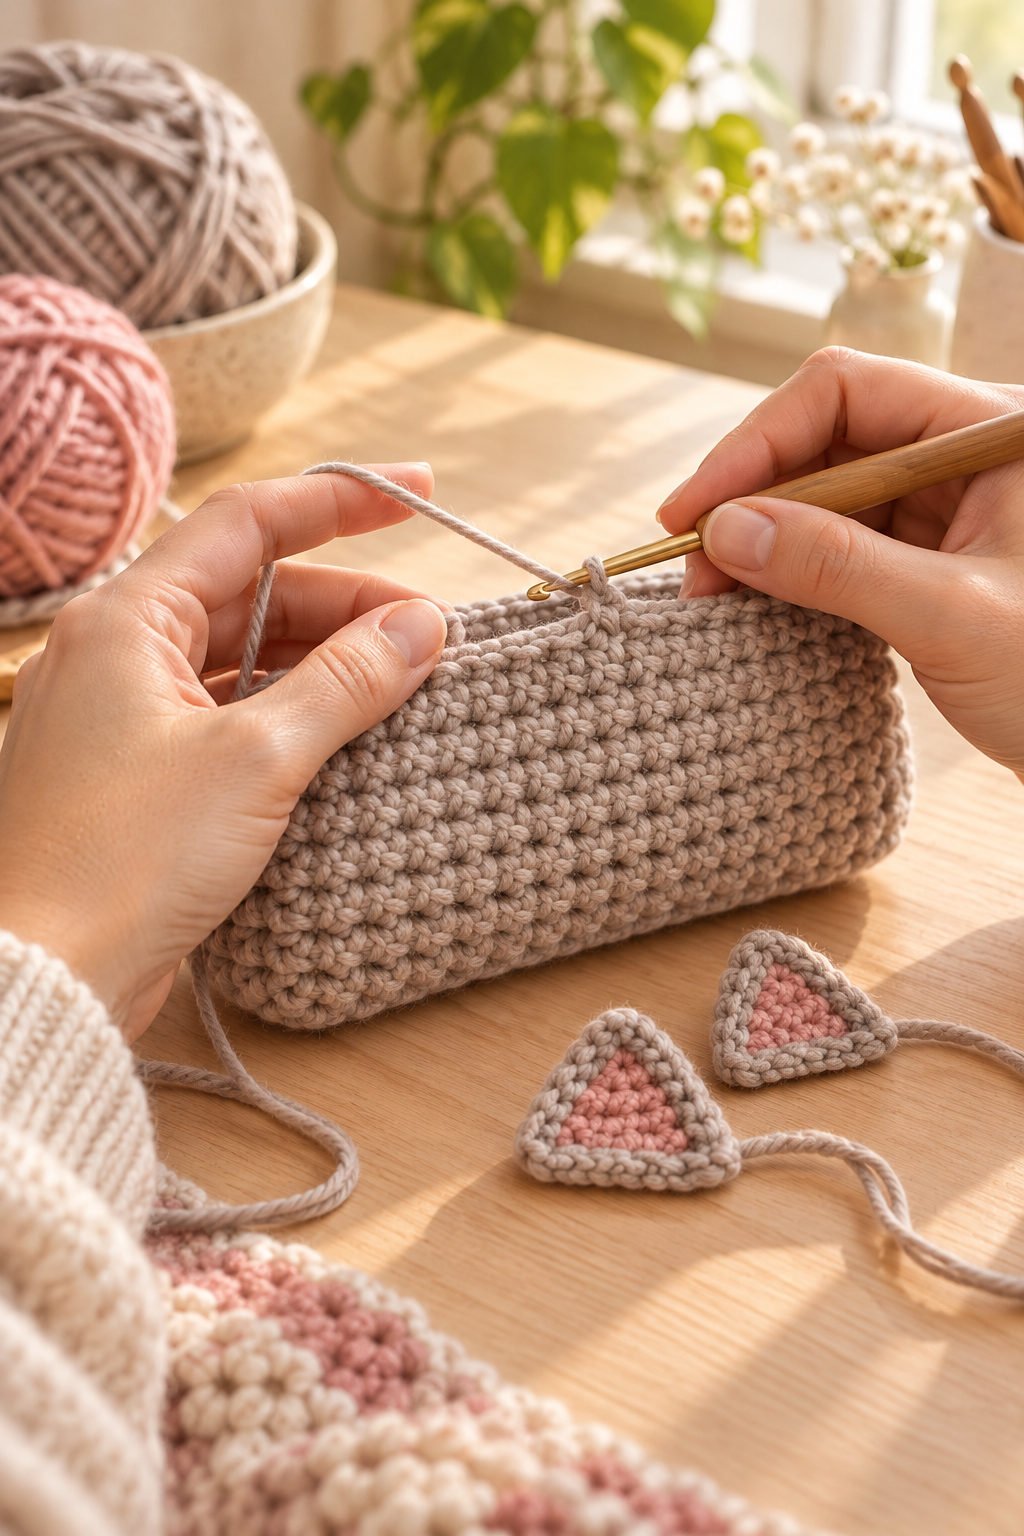
Make two matching rounded-rectangle panels, or follow a separate pouch construction you already know. Keep the stitch texture even and the fabric firm. If you want rounded corners, shape them gradually at the ends rather than leaving sharp square corners. Place the panels together and seam the sides and base, leaving the top open for the zipper.
3. Make and attach the ears
Crochet two small triangular outer ears in the body color and add smaller pink inner sections. Arrange them at the top corners before sewing so they peek above the zipper line without interfering with the opening. Stitch around the ear edges securely, catching several stitches along each side.
4. Install the zipper
Pin or clip the zipper evenly along the top opening. Hand sew it in place with small, secure stitches, checking that the zipper opens and closes smoothly before finishing the seam. A light fabric lining can stabilize the zipper and cover the inside seams. Keep the lining clear of the zipper teeth.
5. Embroider the cat face
Mark the eye, nose, mouth, and whisker placement with removable markers or a scrap of yarn. Embroider the features with dark yarn and add small pink cheek accents if desired. Work the face on the front panel before attaching a lining when possible, and weave the ends into the crochet fabric so they cannot loosen inside the pouch.
6. Add a pull and finish the inside
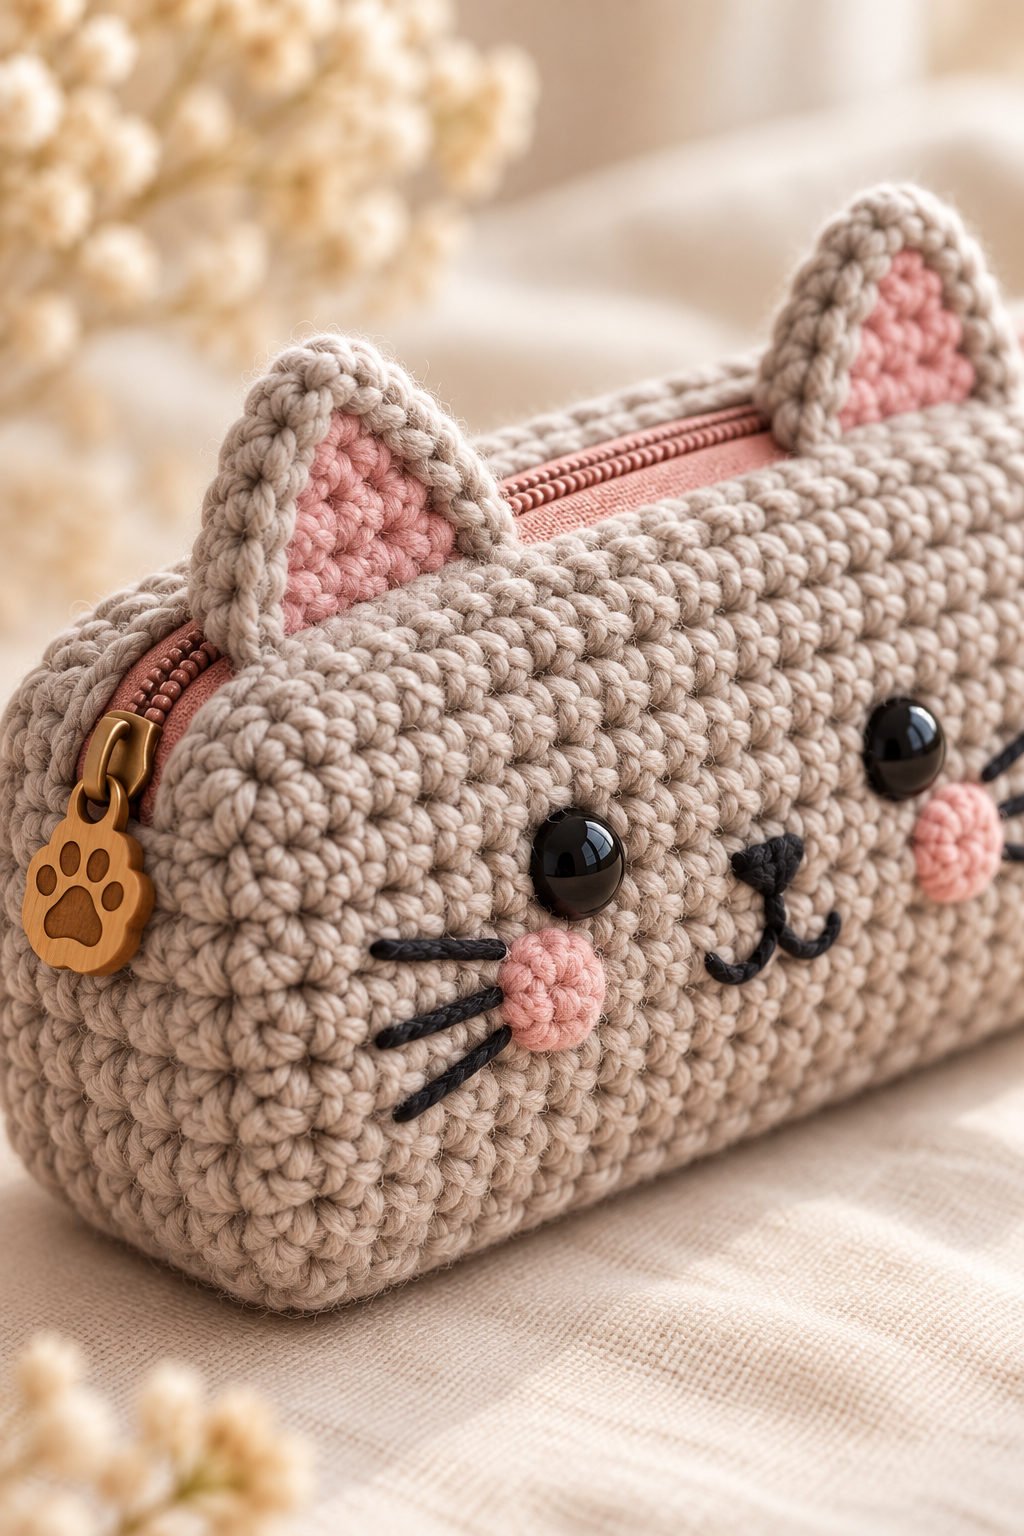
If you want a decorative charm, attach it firmly to the zipper pull and make sure it does not interfere with opening. A simple yarn tassel or embroidered detail is an alternative. Add a lining if you want a smoother interior, then weave in ends and inspect all seams.
Customization Ideas
- Use cream, charcoal, ginger, or pastel yarn for different cat colors.
- Change the expression with embroidered sleepy eyes, a small smile, or curved whiskers.
- Make the ears upright, slightly rounded, or wider for a different character.
- Add a fabric lining in a coordinating print or solid color.
- Replace the paw charm with a yarn tassel or a simple zipper pull.
- Make a longer version for crochet hooks, paintbrushes, or travel tools.
Finishing
Check that both panels align and the base sits flat. Weave in every yarn end, trim loose threads, and test the zipper several times. Make sure the ears are firmly attached and the embroidery does not pull the fabric out of shape. If the pouch will carry small items, add a lining or choose a dense stitch fabric to help keep items from slipping through the crochet.

Care Instructions
Follow the yarn and zipper care guidance. For routine cleaning, remove the contents and spot-clean with a damp cloth and mild detergent. If the yarn is washable, hand wash gently and avoid twisting the pouch; support the zipper and charm while wet. Reshape and air-dry completely before using. Remove any non-washable charm first, and avoid hot dryers that can distort the crochet or lining.
Helpful Tips
- Swatch before choosing the hook so the pouch fabric is firm but workable.
- Measure the actual items you plan to store and include room for the zipper opening.
- Use stitch markers to keep panel edges even and help align the seams.
- Baste or pin the zipper before sewing it permanently.
- Embroider the face before adding a lining for easier access to the back of the stitches.
- Test the zipper after each few stitches to catch puckering early.
- A lining adds structure and helps prevent pencils from catching on the inside stitches.
- For young children, use embroidered eyes and avoid detachable charms or small accessories.
Frequently Asked Questions
Is this a complete counted crochet pattern?
No. The image does not provide a stitch sequence, panel counts, yarn details, or dimensions. This is an image-based construction guide. Use a counted pattern or your own swatch-based measurements if you need exact instructions.
What size is the pencil case?
The photo does not include reliable measurements. Choose a size based on the longest item you want to carry, and allow room for the zipper and pouch depth.
What hook size should I use?
The image’s printed hook marking is not enough to confirm the hook used for the project. Start with the yarn label recommendation and adjust after making a firm swatch.
Do I need to add a lining?
A lining is optional, but it can strengthen the zipper area and keep pencils or small tools from catching in the crochet fabric. A dense crochet stitch may be enough for larger supplies.
How can I sew a zipper into crochet?
Pin or clip the zipper evenly to the opening, then sew it in with small, secure stitches. Work slowly and check that the zipper moves freely before closing the lining or weaving in final ends.
Can I make this case without a zipper?
Yes. A button loop, flap, or drawstring can be substituted, but each closure changes the pouch opening. Choose a closure that suits the items you plan to store and secure it firmly.
Final Thoughts
A crochet cat pencil case is a cheerful way to combine useful storage with handmade character. The ears, whiskers, zipper, and soft neutral yarn create the look; careful sizing, firm fabric, and tidy zipper sewing make the pouch practical. Use the reference as inspiration, then adapt the measurements and finishing to the supplies you want it to hold.

