

Introduction
The supplied image pairs a white openwork crochet bandana with a pale pink border, small pink bows, and dangling cat-face charms. Worn over long hair, it has the look of a light kerchief with a playful, character-inspired finish. This guide explains how to plan a similar accessory from the visible design details. It is an original visual construction guide, not a counted or graded pattern: the photo does not reveal the exact mesh stitch, shaping method, fastening, gauge, or finished size.
Why You’ll Love This Bandana
- Light and airy: Open mesh creates a delicate look that suits a warm-weather head covering.
- Easy to personalize: Change the base and border colors, bow placement, or charm style to suit your look.
- A small, flexible project: A bandana can be sized and shaped around your own head and hairstyle.
- Decorative details do the work: A clean border, a few bows, and lightweight charms give a simple triangle a finished look.
- Useful crochet skills: Mesh, edging, appliqués, blocking, and secure embellishment techniques all carry over to other accessories.
Skill Level
Suggested level: Confident beginner to intermediate. You should be comfortable with basic stitches and keeping a mesh repeat consistent. Shaping a triangle and attaching small decorative pieces add a little planning. If openwork is new to you, practice the chosen mesh stitch on a small swatch first.
Materials
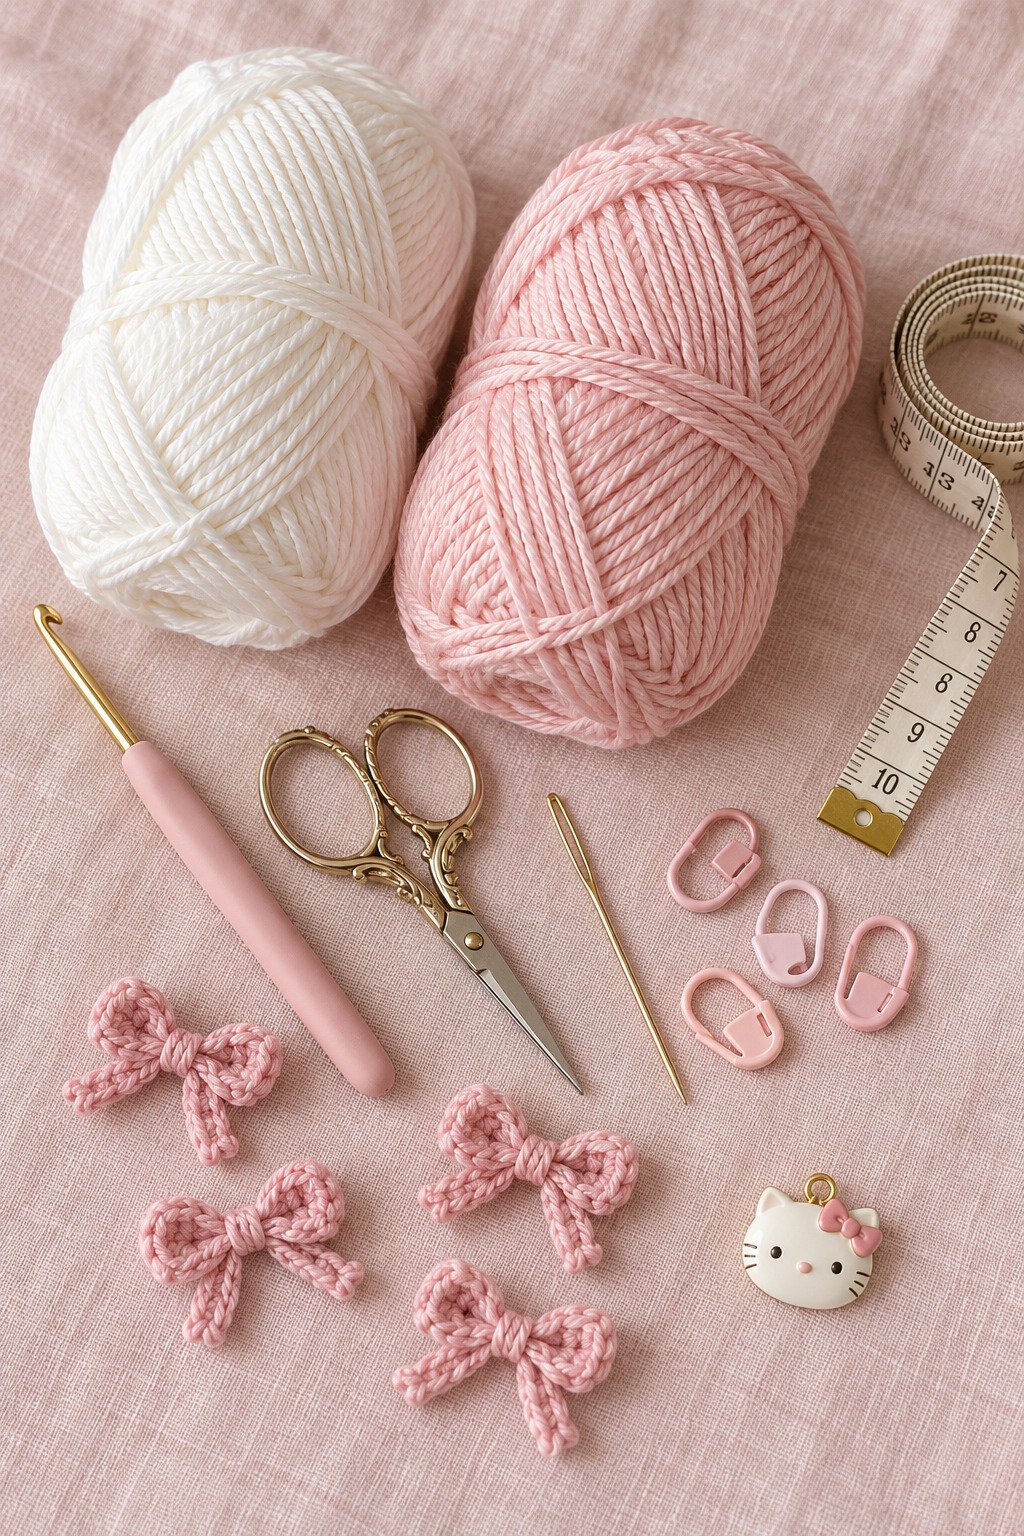
- Smooth white or ivory yarn for the bandana base
- Soft pink yarn for the border and bow appliqués
- Optional lightweight, original cat-face charms or small beads for dangling accents
- Crochet hook selected by swatching
- Scissors and yarn needle
- Flexible tape measure
- Stitch markers to track edges or shaping points
- Blocking mat and rust-proof pins
- Optional small jump rings or secure clasps if you want removable charms
Yarn Recommendations
A smooth cotton or cotton blend is a useful starting point for a lightweight bandana. Cotton tends to show mesh openings and edging clearly, while a soft blend can make the fabric feel gentler against hair and skin. Choose a yarn that drapes without becoming heavy; bulky or fuzzy yarn may obscure the openwork.
Use the same or a compatible yarn weight for the pink border so the edge does not pucker or stretch out. If you add charms, keep them light and test the finished accessory for pulling or snagging before wearing it.
Hook Size
No hook size can be identified from the photo. Start with the recommendation on your yarn label, then make a swatch in the mesh stitch you plan to use. The fabric should open enough to resemble the reference while remaining stable and comfortable. Adjust the hook if the mesh is too stiff, loose, or uneven.
Gauge
The image does not provide a reliable gauge or stitch repeat. Make and block a sample in your chosen yarn and mesh stitch, then record its dimensions for your own project. Use that sample to estimate how the fabric will drape and how much width your chosen triangle construction will add as it grows.
Finished Measurements
Exact measurements are not visible in the reference. Before starting, decide how you want the bandana to sit over your hair. Measure the span across the front hairline, the depth from the center front toward the crown, and any tie or fastening length you plan to add. Try the fabric against your head as you work; hair volume and wearing style change the fit.
Crochet Abbreviations
These are standard US crochet terms. Follow the stitch definitions in the mesh pattern you choose.
- ch: chain
- sl st: slip stitch
- sc: single crochet
- hdc: half double crochet
- dc: double crochet
- tr: treble crochet
- st(s): stitch(es)
- sp(s): space(s)
- ch-sp: chain space
- rep: repeat
- RS: right side
- WS: wrong side
Construction Overview
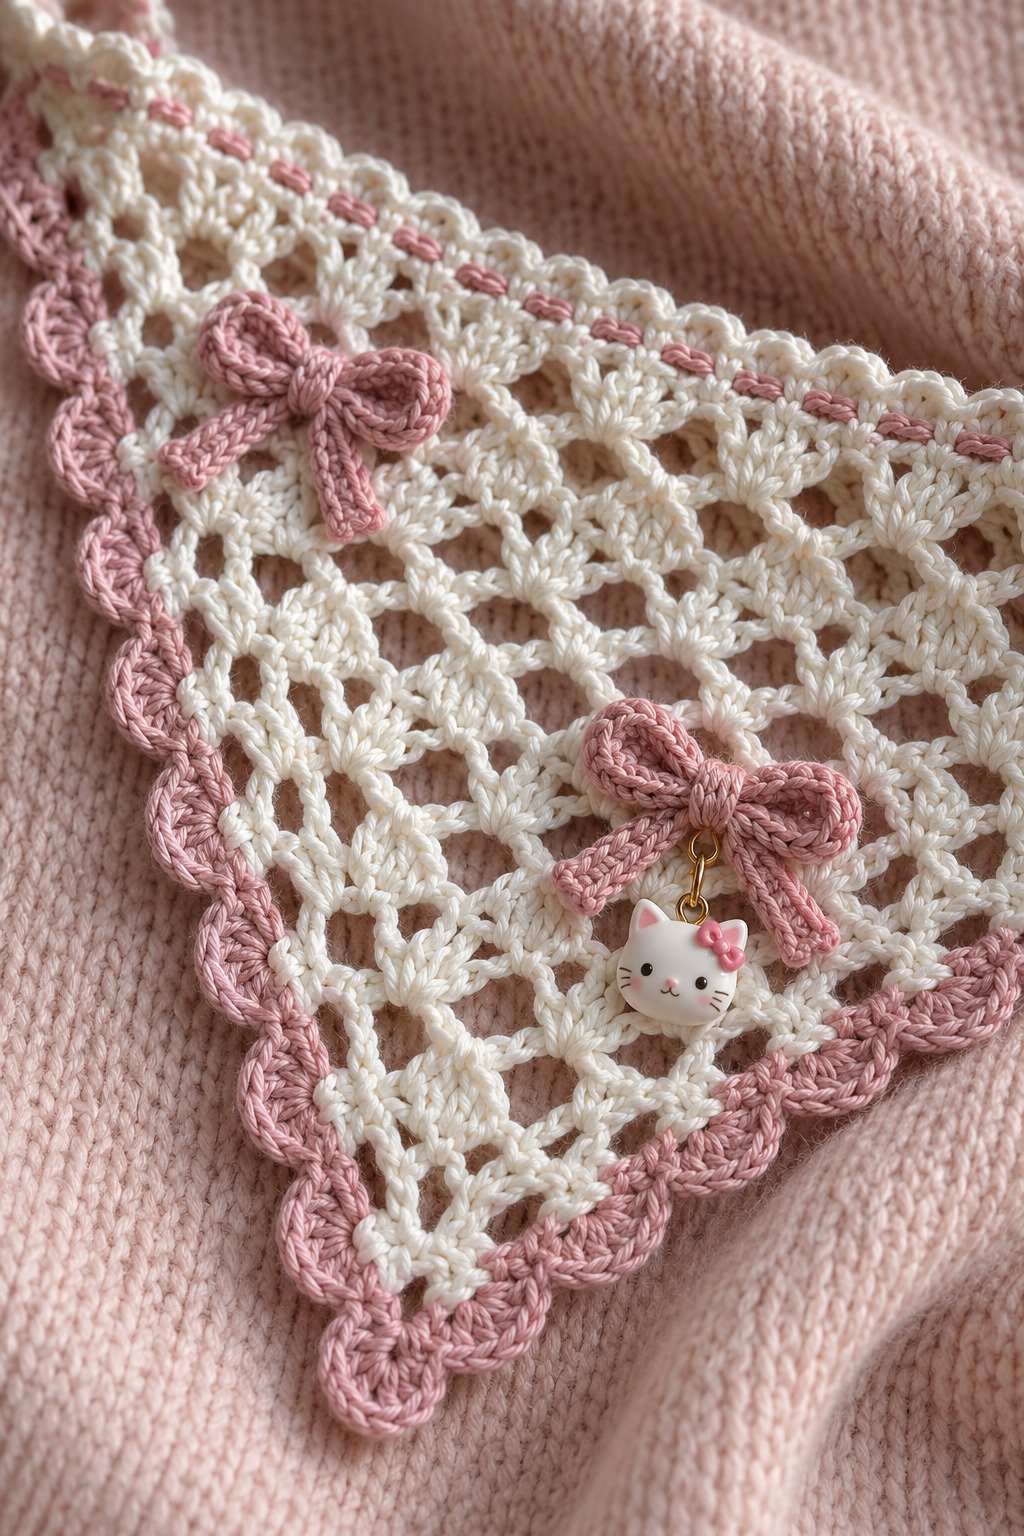
The photo appears to show a triangular or kerchief-shaped white mesh piece with a pink edging. Small pink bows are attached to the openwork, while several lightweight charms hang from part of the outer edge. The image does not show the back of the bandana or how it stays in place, so choose a tie, discreet elastic, comb, or other fastening that suits your hair and the fabric.
For a similar look, make the mesh base first, check the shape and fit, then add the pink border. Attach the bows and any removable charms only after the base is blocked and the placement looks balanced.
Step-by-Step Guidance for a Similar Look
This is visual planning guidance only. The stitch pattern, row count, exact increases, and fastening cannot be confirmed from the image.
1. Choose a mesh stitch and swatch
Select a written mesh stitch pattern you can repeat consistently. Make a small sample in the base yarn and block it as you expect to block the finished bandana. Check that the openings look airy but do not catch easily on hair or accessories.
2. Plan the bandana shape
Use a triangle or kerchief construction method that matches the coverage you want. The image suggests a broad, draped shape over the back of the head, but it does not reveal whether the piece was worked from the center, from an edge, or assembled another way. Follow a construction method you understand and adjust it using your own measurements rather than guessing a stitch count from the photo.
3. Work the mesh base and check the fit
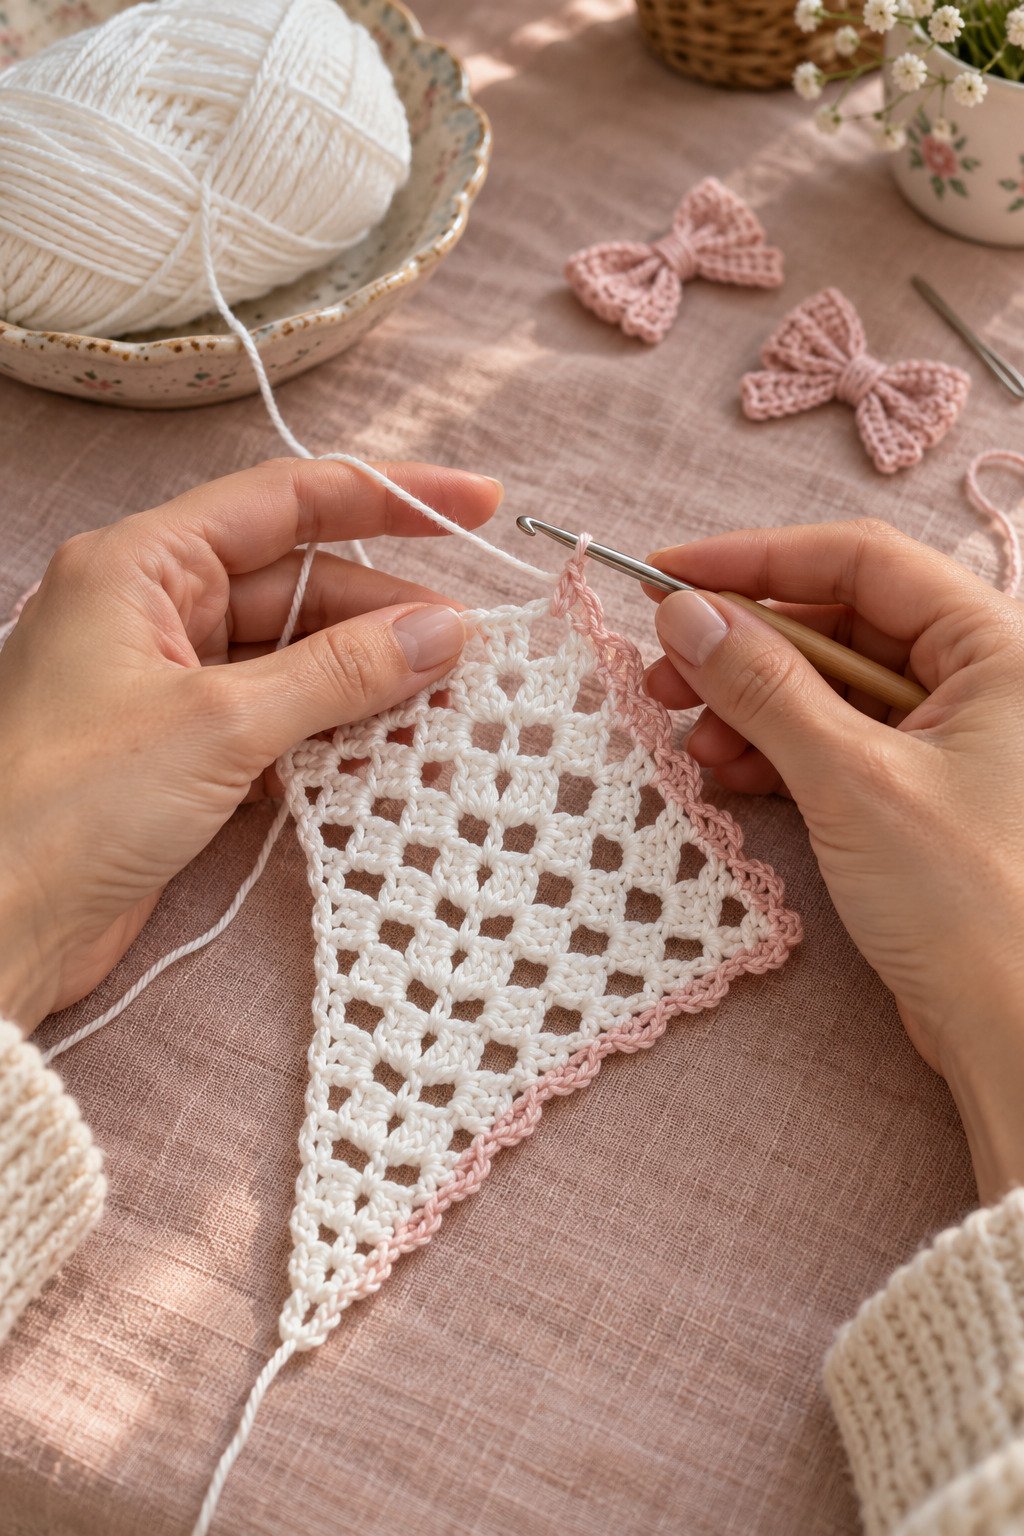
Crochet the base in white or ivory, keeping the mesh repeat even. Lay the work flat regularly so you can see whether the edges are shaping as intended. Try it over your hair before adding the border. If it feels too shallow, too wide, or too heavy, adjust the plan while the piece is still easy to change.
4. Add a pink border
Work a neat edging around the outer edge in pale pink. Keep your tension relaxed enough for the border to follow the bandana’s shape without curling or ruffling. If you want a more defined edge, test a second edging pass on your swatch before adding it to the full piece.
5. Make and attach bow appliqués
Create small bow shapes separately in a deeper pink, then wrap or stitch the center to define the knot. Pin the bows in place before sewing them down. Distribute them where they frame the mesh without covering too much of it, and secure the ends on the wrong side so they do not rub against hair.
6. Decide how to fasten the bandana
The fastening is not visible in the photo. Try the bandana on and decide whether it needs ties, a discreet elastic section, a clip, or no added fastening. Reinforce the attachment points with a few extra stitches and keep any hardware smooth against the head.
7. Add optional charms carefully
For a playful cat-inspired finish, attach lightweight, original cat-face charms or beads along a short section of the border. Removable jump rings or small clasps make washing easier. Check every connection and move your head to test for swinging, pulling, or snagging. Avoid small detachable embellishments on accessories for young children.
Customization Ideas
- Change the white base to cream, blush, or another light shade.
- Use a darker pink border for more contrast or a subtle tone-on-tone edge.
- Add fewer bows for a simpler look, or place them asymmetrically.
- Leave off the charms for a lighter, easier-care bandana.
- Use removable charms so the accessory can be washed safely.
- Add ties or a comfortable fastening suited to your hairstyle.
- Make the triangle deeper or wider by following your swatch and personal measurements.
Finishing
Weave in the ends securely, then block the bandana gently according to the yarn label. Pin the shape without stretching the mesh too far. Let it dry completely before attaching removable charms or trying it on. Check the pink edging for puckers and reinforce bow and fastening attachments from the wrong side.
Care Instructions
Follow the care instructions for your yarn. Remove detachable charms and metal findings before washing. Hand wash gently when the yarn label allows, avoid wringing, and press excess water out in a towel. Reshape and dry flat so the triangle and edging keep their shape. Store the bandana flat to protect the bows and mesh.
Helpful Tips
- Work dark or light mesh against a contrasting surface so the openings are easier to see.
- Use stitch markers at shaping points if the chosen construction has repeated increases.
- Block the swatch before judging drape or size.
- Pin bows in place and try the bandana on before sewing them permanently.
- Keep charms lightweight and check every loop or clasp for sharp edges.
- Remove dangling pieces before washing, sleeping, or storing the accessory.
- Treat the photo as a style reference; it cannot supply a tested stitch count or size.
Frequently Asked Questions
Is this a complete counted crochet pattern?
No. This is an original visual design guide based on the supplied image. The photo does not show the exact stitch pattern, shaping, gauge, or measurements needed for a row-by-row pattern.
What stitch is used in the bandana?
The image shows an open mesh, but individual stitches are not clear enough to identify with confidence. Choose a written mesh pattern you like and swatch it in your yarn.
How do I choose a size?
Measure the coverage you want over your hair and try the piece on as you work. The depth and width depend on your head shape, hairstyle, yarn, and mesh construction.
Can I add dangling cat charms?
Yes, if they are lightweight and firmly attached. Removable charms are easier to take off for washing. Test them for pulling and snagging before wearing the bandana.
Can I make it without bows or charms?
Absolutely. The white mesh and pink border can stand on their own, and omitting the embellishments makes the bandana lighter and simpler to care for.
Final Thoughts
A pink-and-white mesh bandana is a charming way to combine airy crochet with small decorative details. Build the shape around your own fit, swatch before choosing the hook, and add bows or cat-inspired charms only after the fabric is finished and checked. The supplied image offers a clear style direction, while your chosen stitch pattern and measurements will determine the final accessory.


